Welcome to Kings Quest IV, The Perils of Rosella !
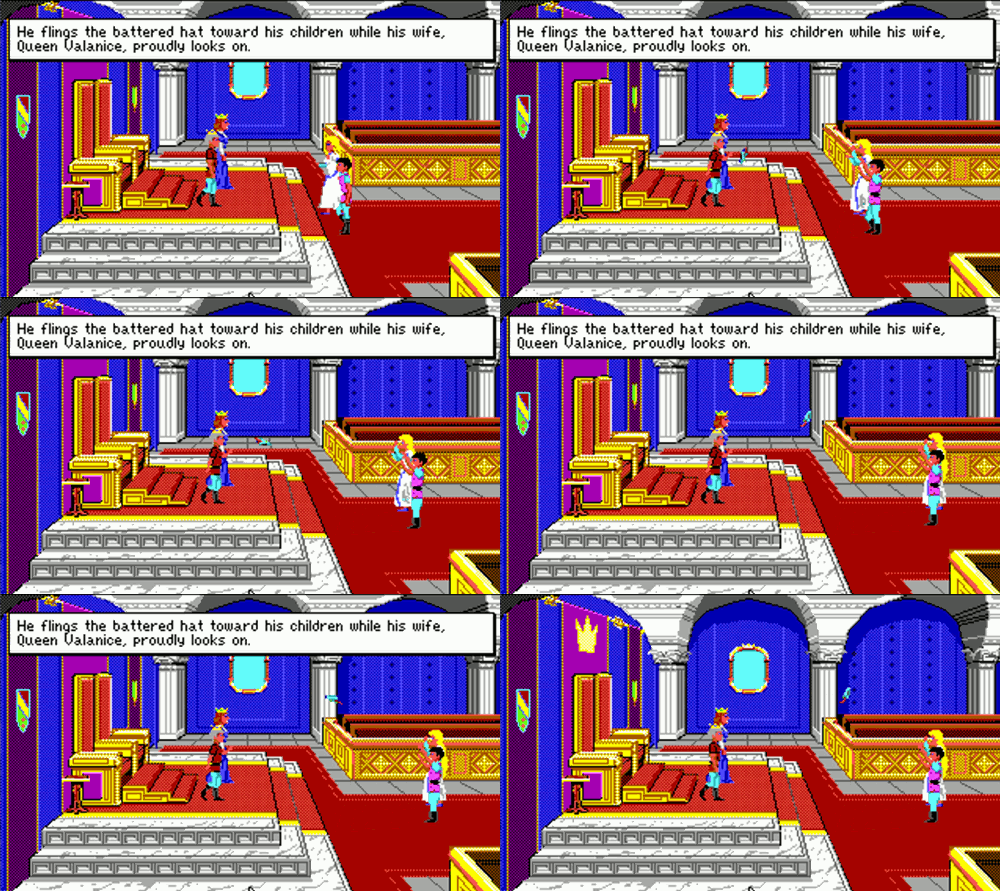
King Alexander reluctantly tosses the adventurer cap to his children, Prince Graham & Princess Rosella
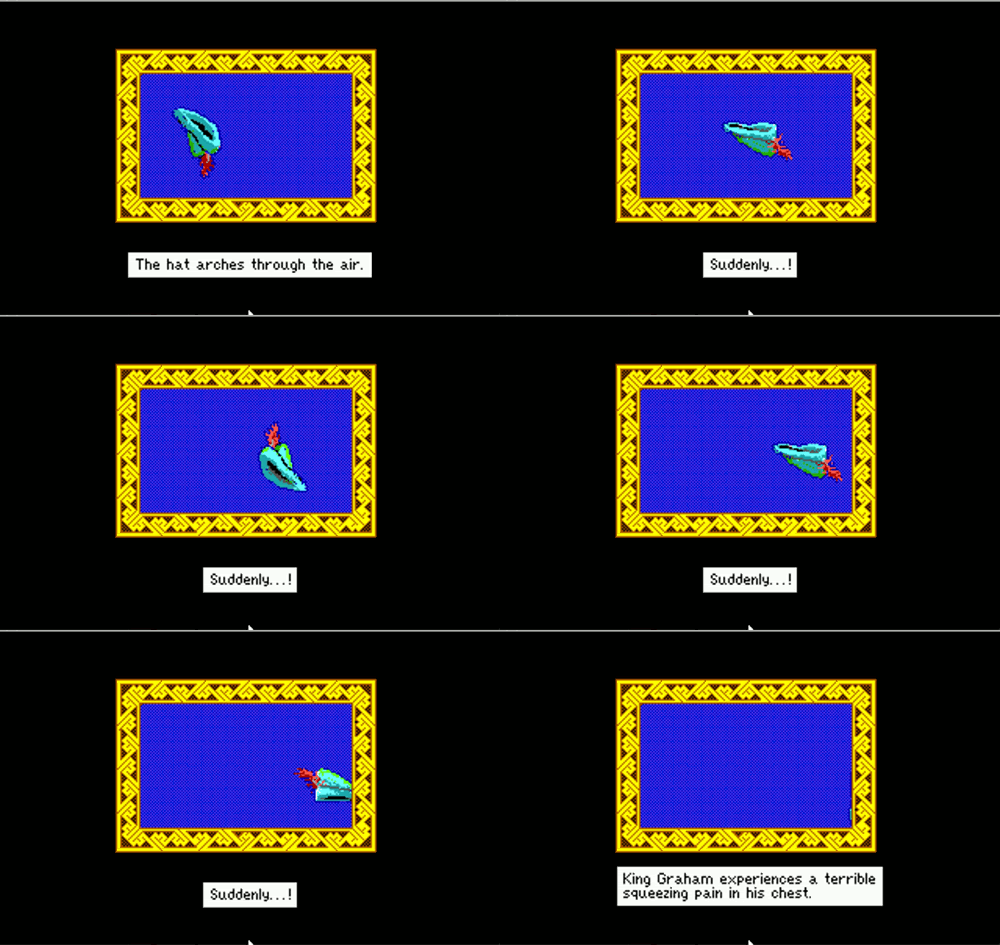
Suspense
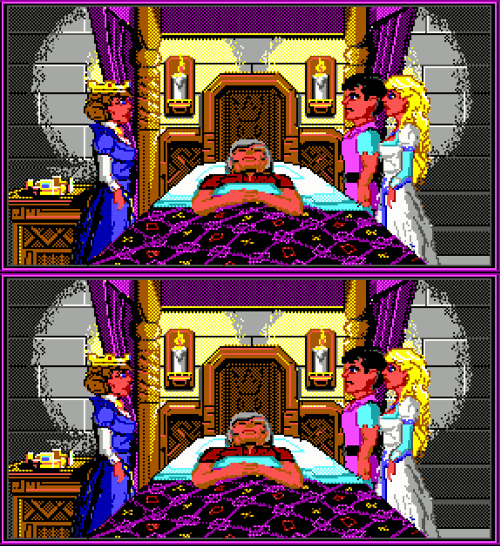
King Graham is gravely ill, and only the magical fruit from Genesta will restore his health
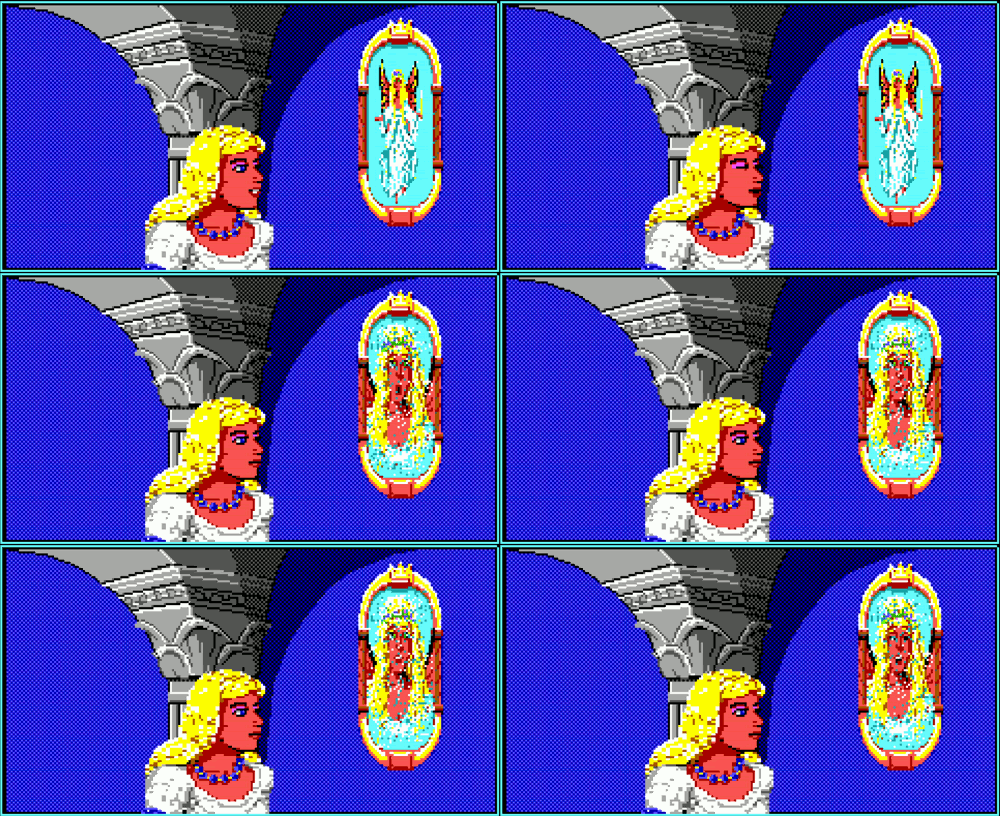
Pondering her father's illness, Rosella notices a beautiful fairy in the magic mirror
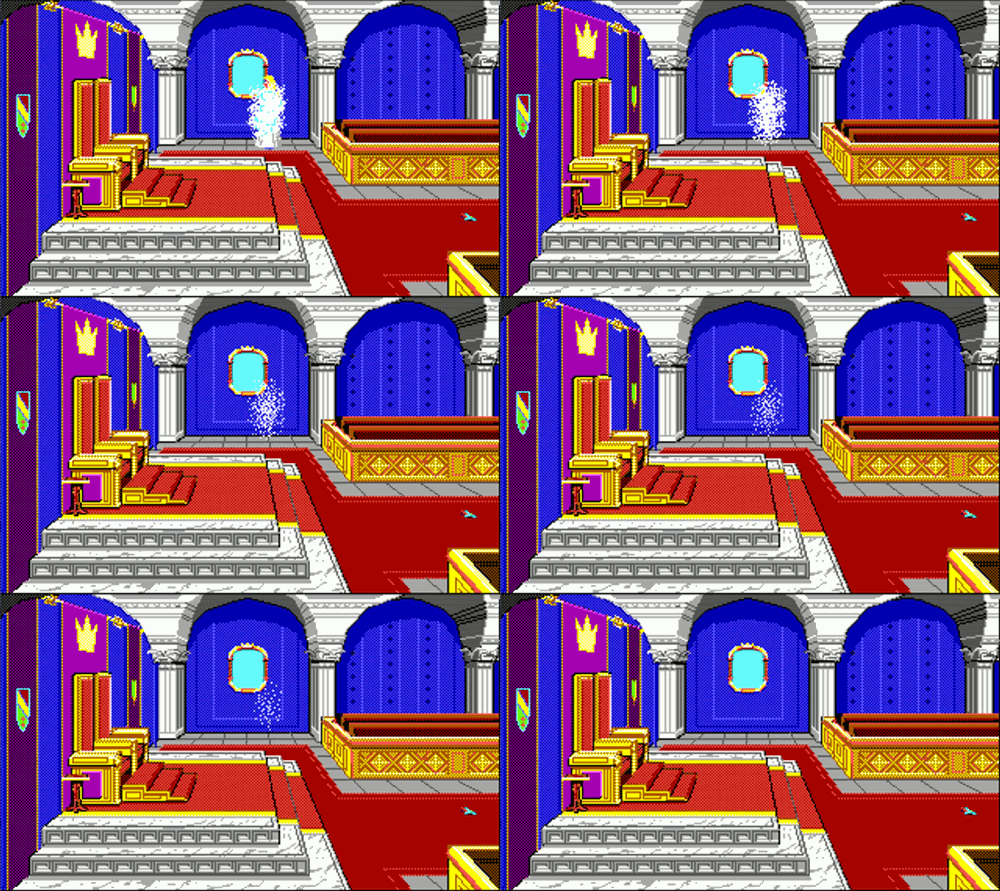
The fairy alludes to a magical fruit that will restore her fathers health, on an island far away. Rosella vanishes to the island
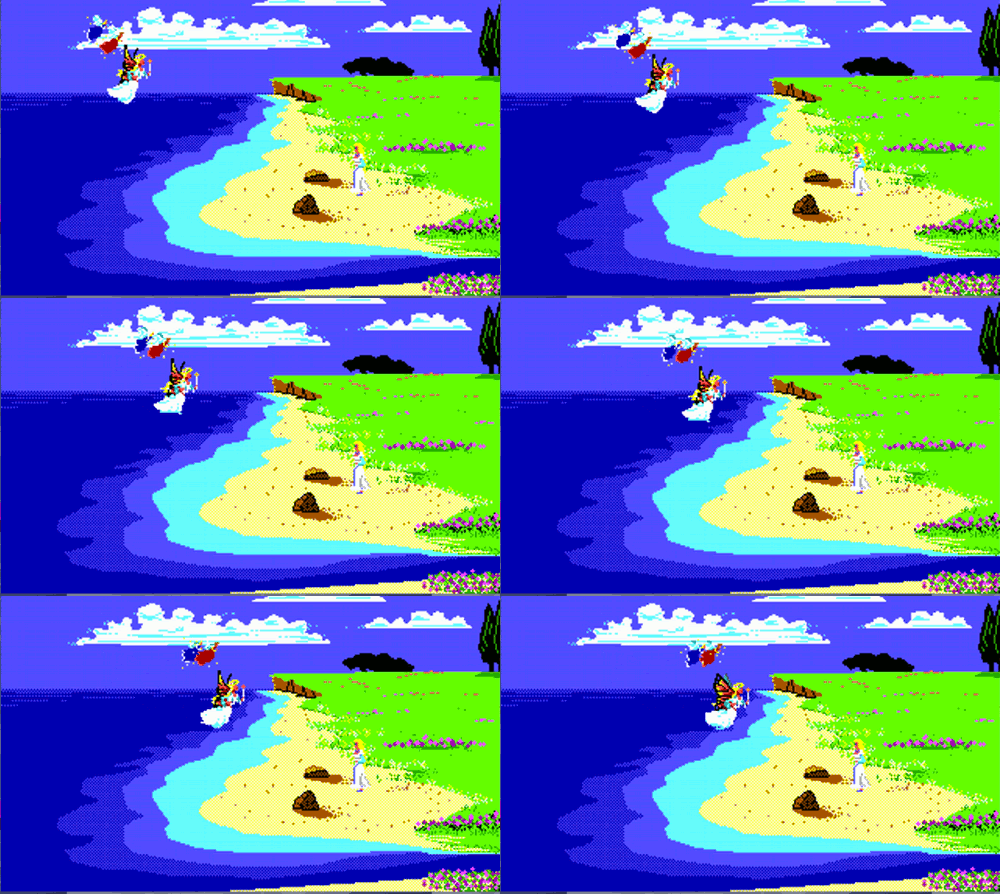
Genesta and her fairy guards greet Rosella on the beach
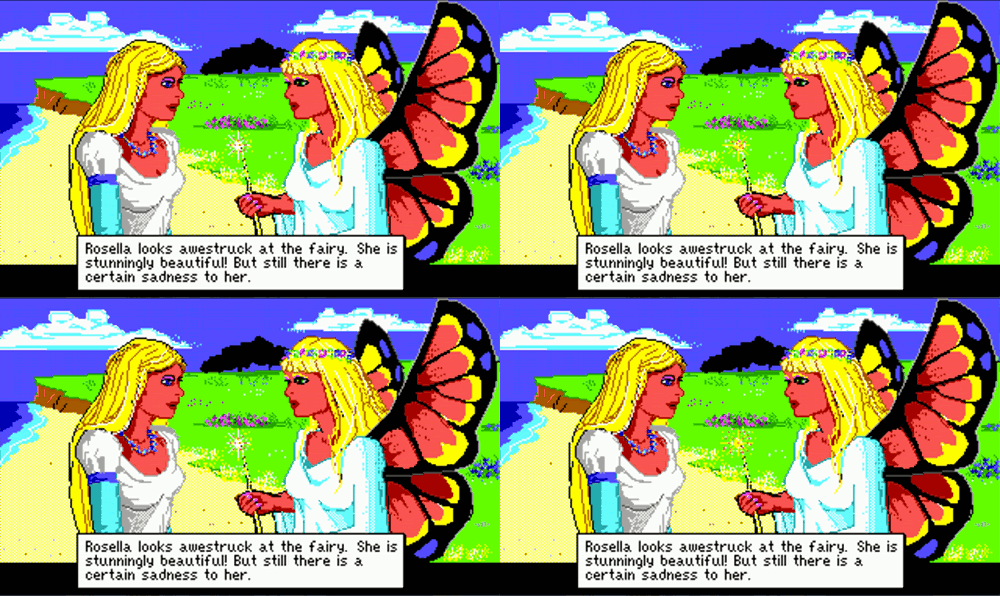
Rosella learns that Genesta's magic is lost from the evil witch Lolotte.
Rosella vows to help Genesta, by retrieving a talisman from Lolotte.
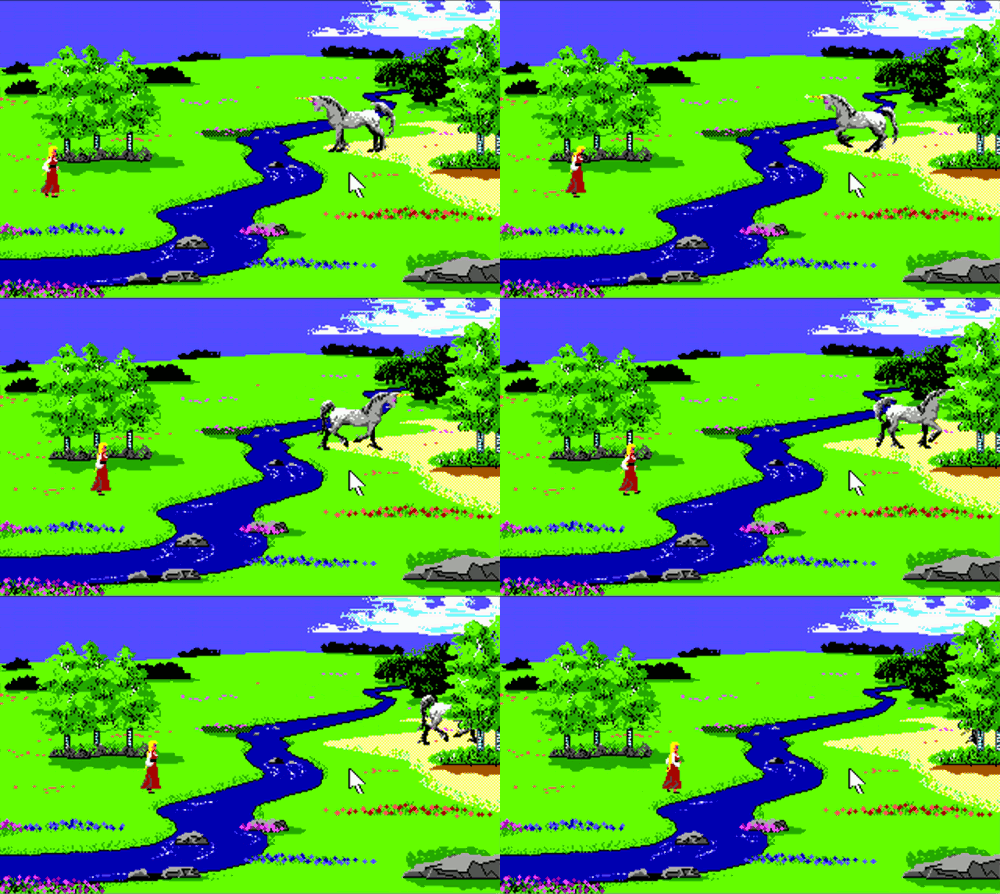
Go east one screen. A unicorn likes to appear here (and in the surrounding screens) every now and then.
Rosella will deal with the unicorn later.
Let's first find some treasure and other goodies.
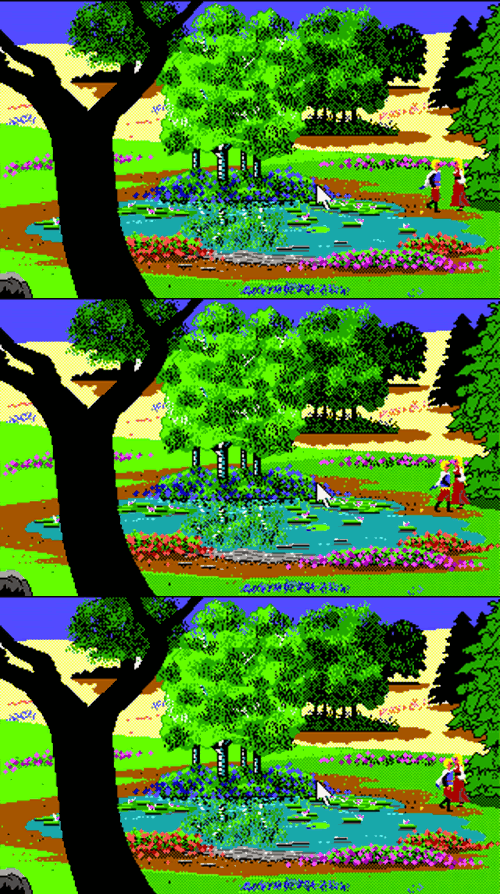
Go east one screen and north one screen to a bridge. There is a shiny glint underneath the bridge. Go to the bridge and LOOK UNDER BRIDGE to see a golden ball. After you take it, go north one screen to a lily pond with a frog in it. Stand on the northeast edge of the pond. If Rosella scares away the frog, leave the screen and come back. The frog should be back on the lilypad again. Look at the frog. It is hard to tell, but the frog has a little gold crown on its head. That's strange! Well, maybe the frog might like another gold item -- a gold ball to play with. THROW BALL at the frog. This may take several tries to finally be able to throw the ball. Oops! You missed! Fortunately, the frog emerges near Rosella with the ball. Stand close to the frog, take the frog, and look at it. What a cute little creature, isn't it? Being a princess and all, you suddenly have this innate desire to KISS THE FROG. Wow! A prince! Oh my! Wait a minute ... he just looks at you distastefully and stomps off. How rude! You would think he would have given at least a simple "thank you" for ridding him of that curse! Well, he gave you the golden crown. It might be useful. (You could have taken the crown without kissing the frog, but that would have scored less points.) Take the gold ball again if you like. You will not need again, though.
SAVE GAME
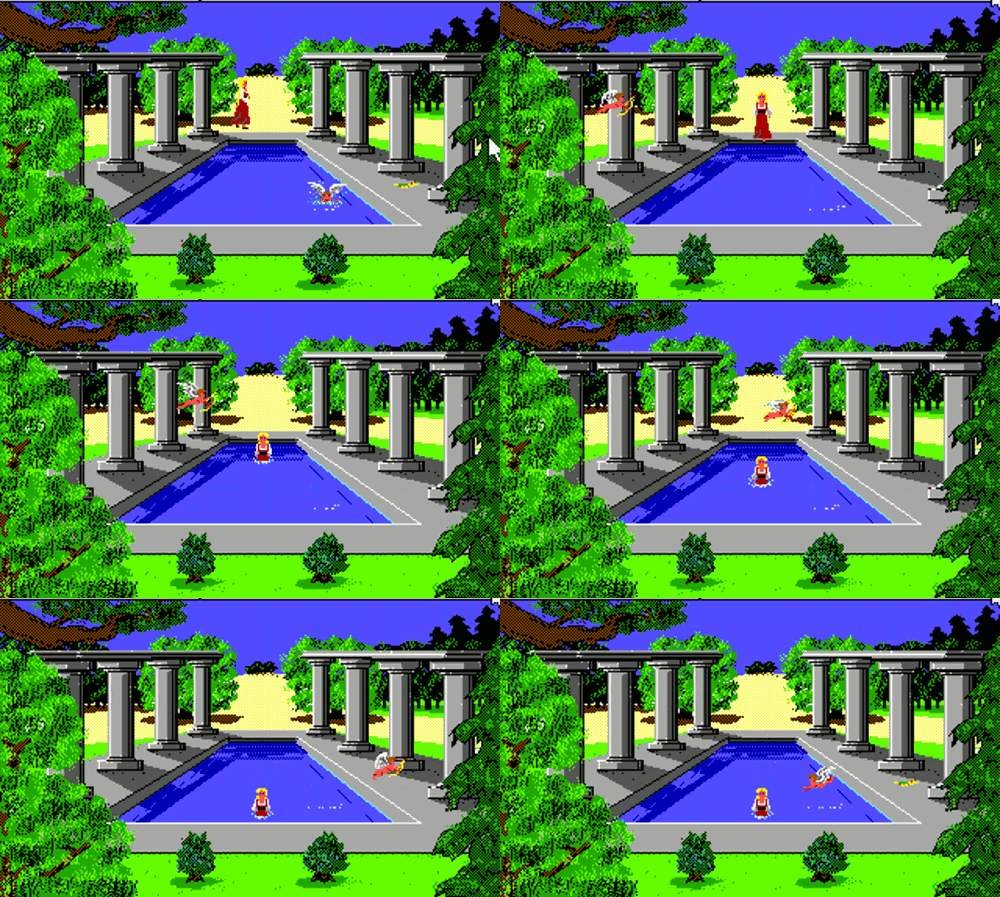
Go south three screens to Cupid's little pool. Leave and return repeatedly until Cupid shows up and takes a little bath. Using the mouse, move Rosella towards the bow and arrows that Cupid left on the side. You will scare him away, but that is okay. You do not need to mess with Cupid at all in this game. You just need to take his bow and arrows.
You have two arrows.
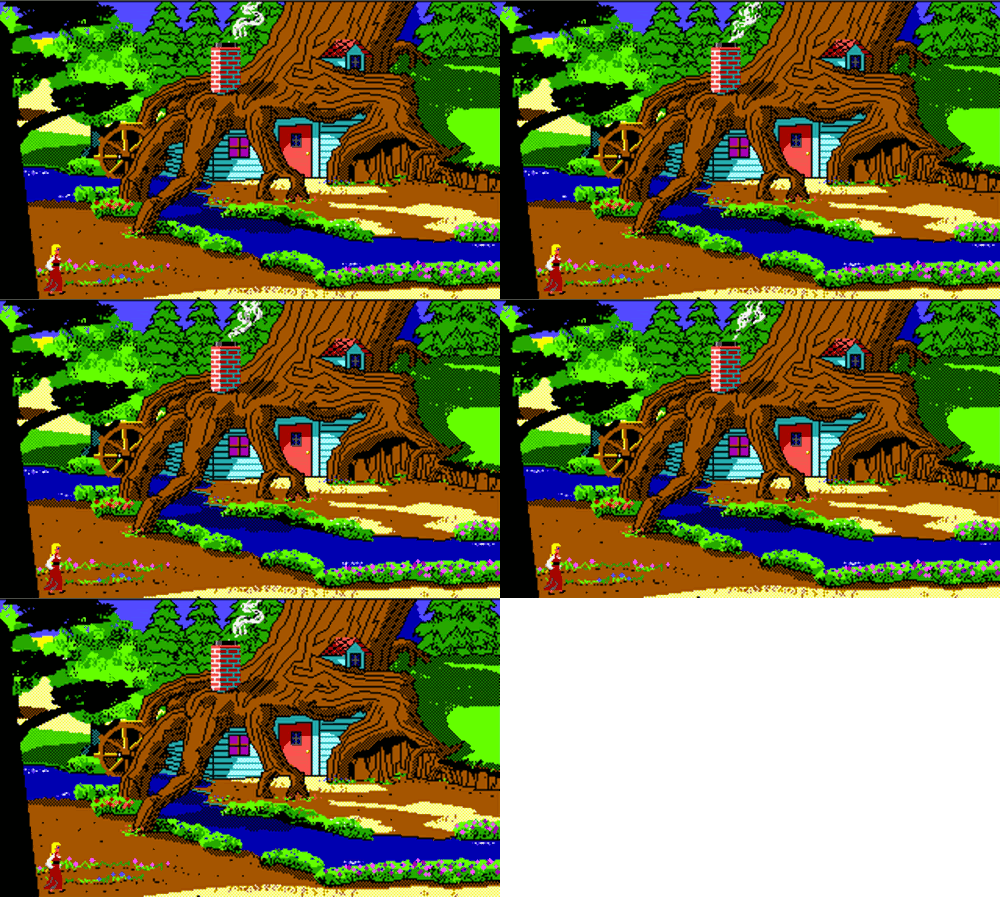
Go north two screens to the bridge and east one screen to a little house in a tree.
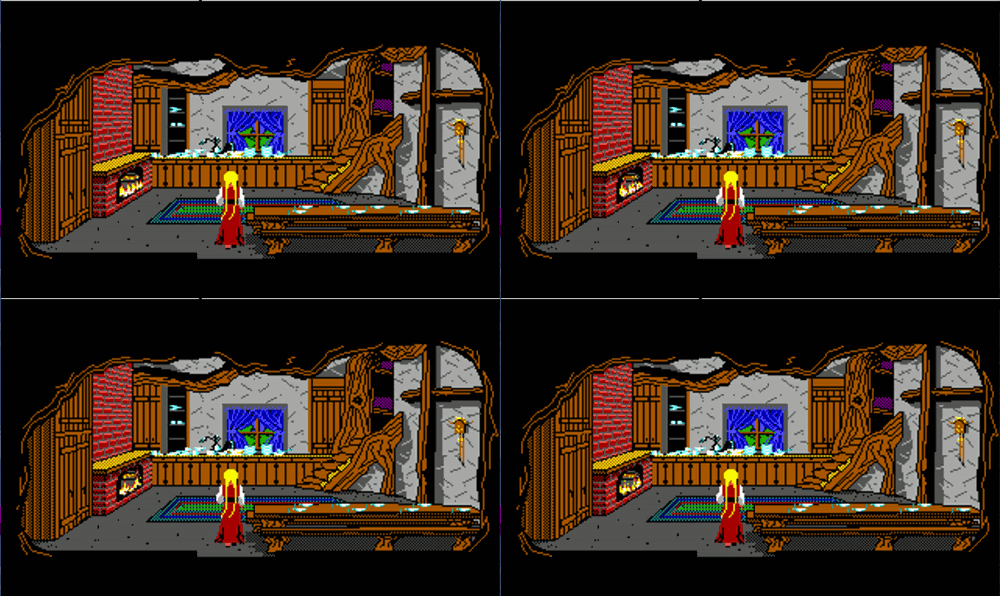
Open the door and enter the house. Look around.
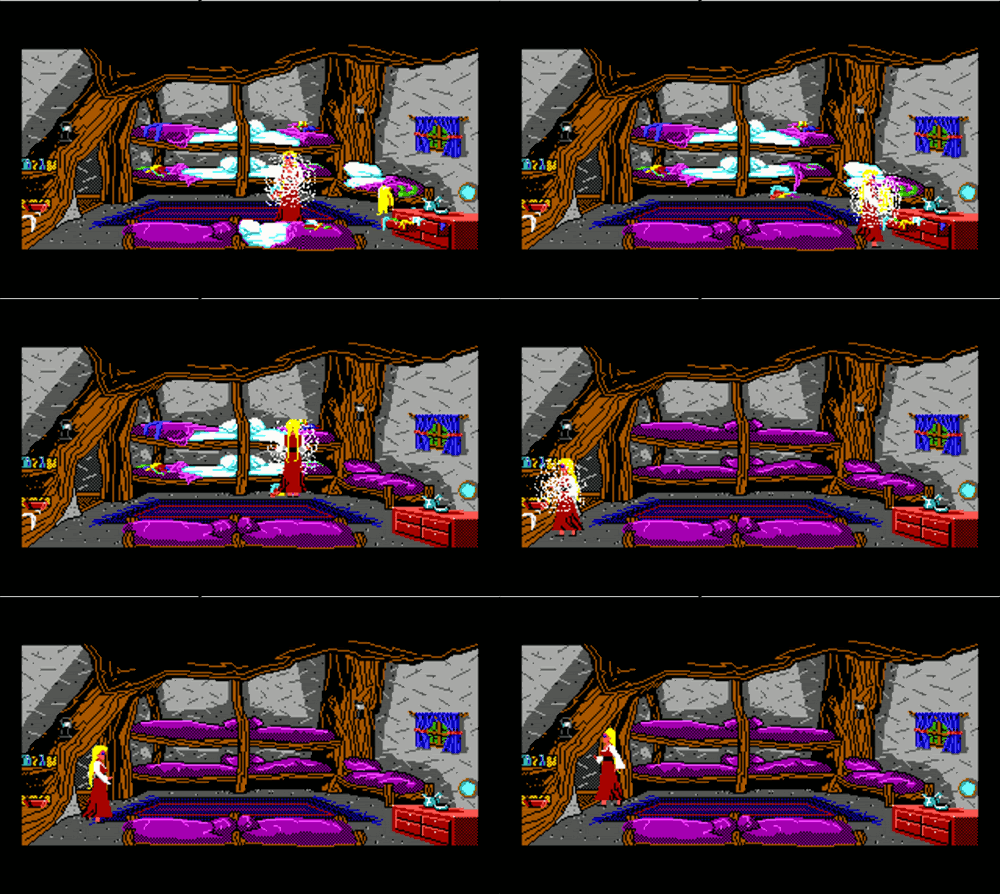
What a filthy mess! Who on earth lives here?!
Well, you just cannot take it anymore!
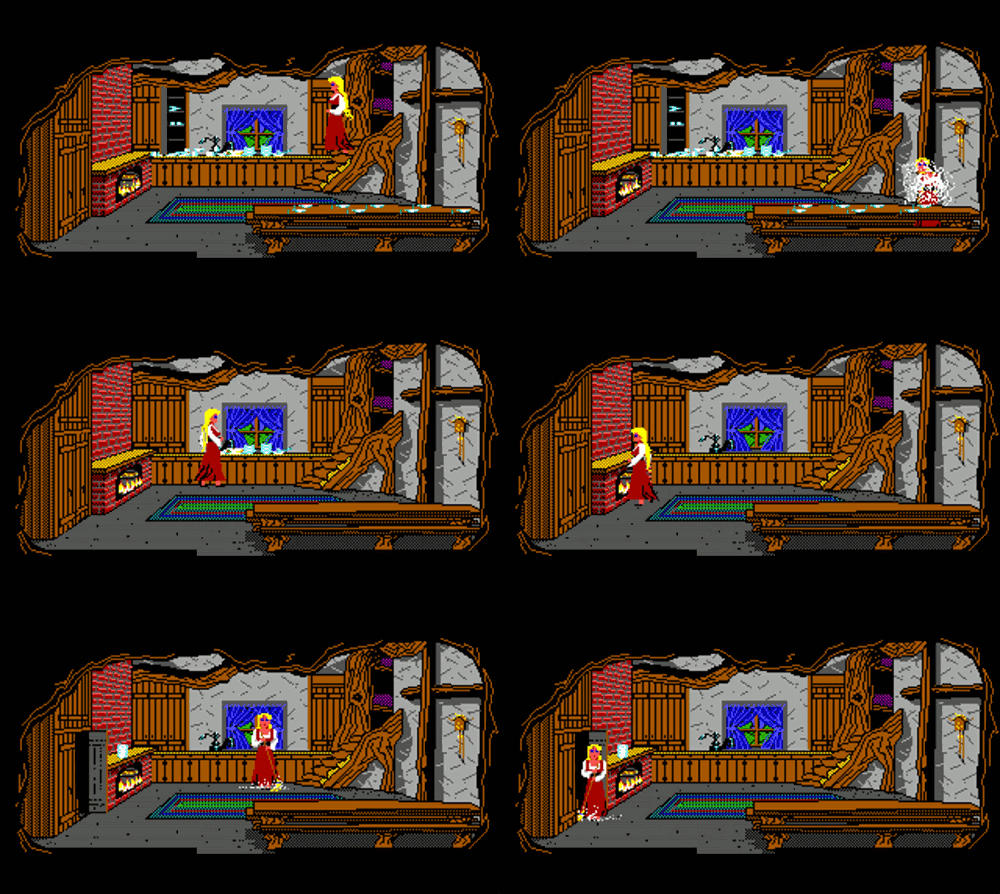
It seems like no one has straighten up this place for weeks (months even!), so you decide to do whoever lives here a big favor and CLEAN HOUSE.
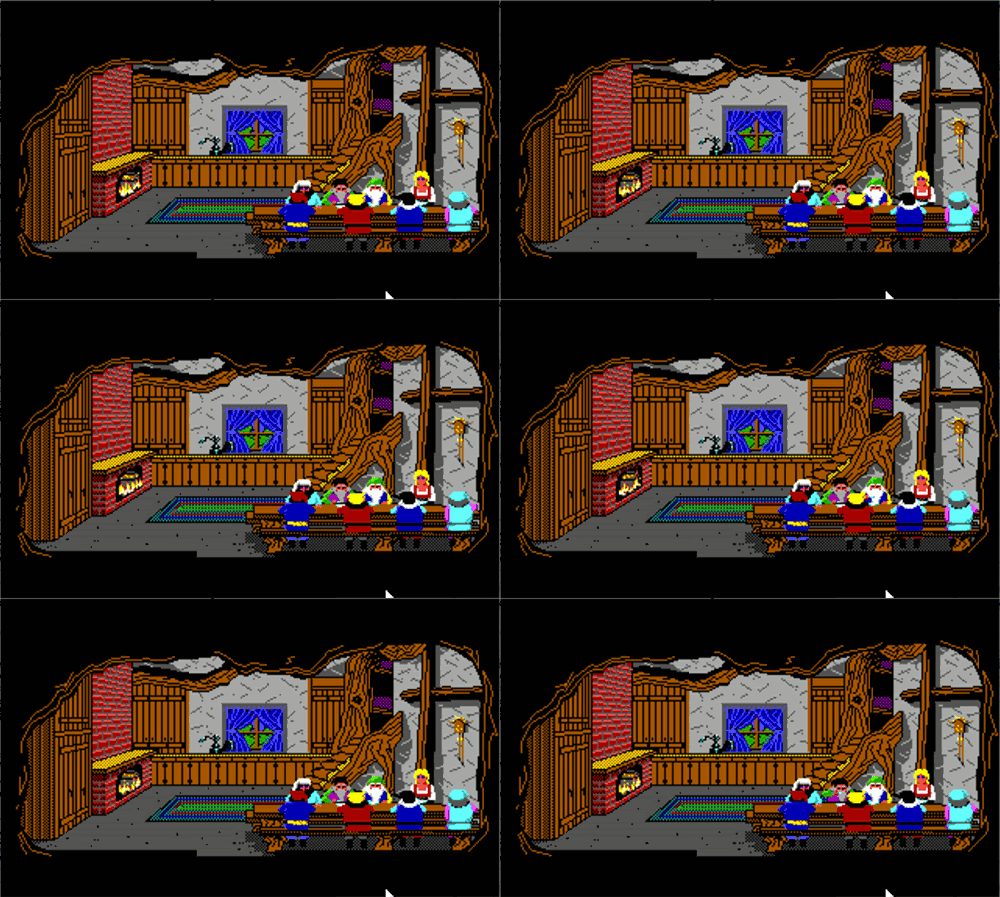
Look! Here come the dwarf miners. All seven of them! They love what you have done to the place and decide to give you a bowl a soup. How generous of them! After they leave, take the pouch on the table. Open the pouch and look inside to see some diamonds. Uh oh! One of them must have left it here by mistake. You had better find them and return that pouch!
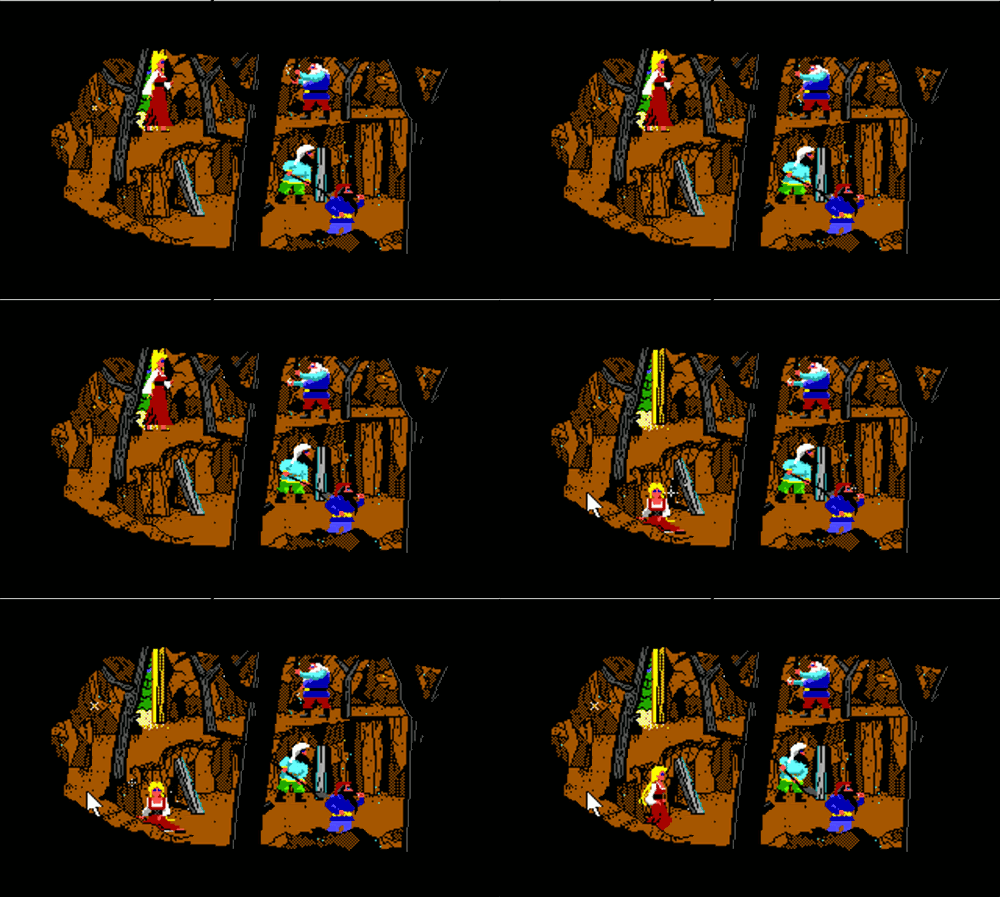
Leave the house, and go south one screen to the diamond mine. SAVE GAME. Enter the door. There are the dwarves, working hard as ever! You need to get down to the first level. Using the mouse to maneuver Rosella would be a good thing to do here.
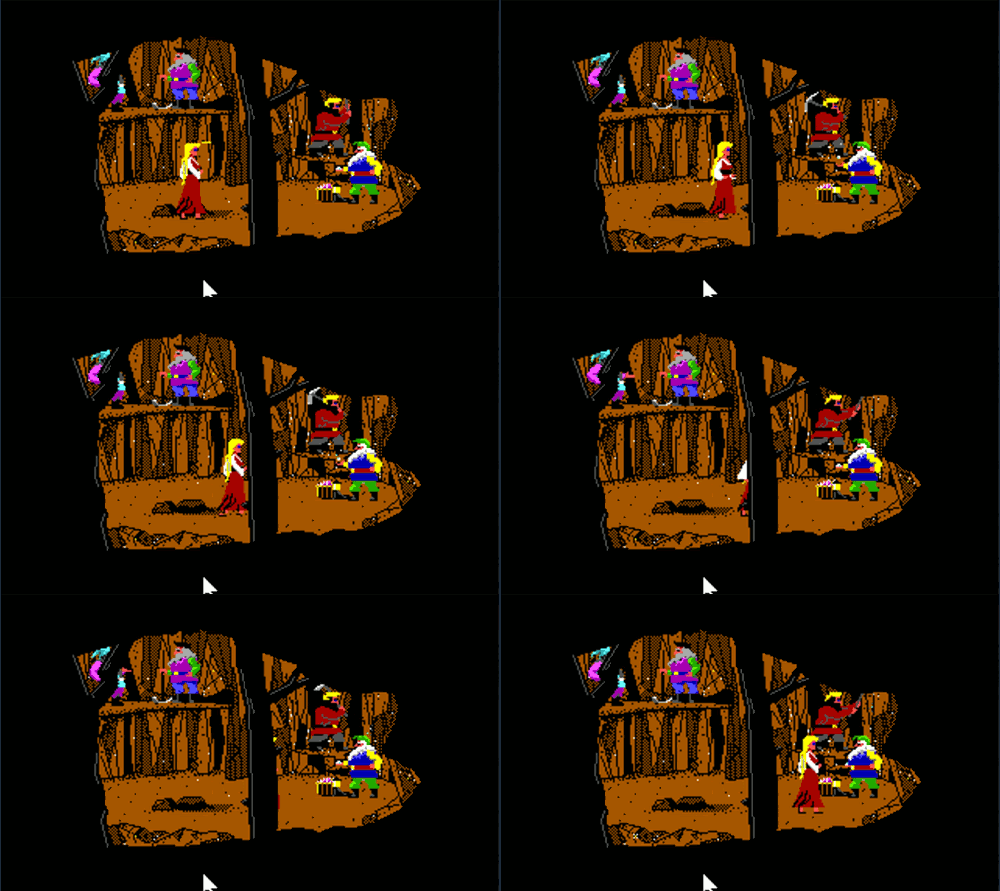
Go east one screen. The head dwarf is standing near a lantern. Talk to the dwarf and give him the pouch of diamonds. He will be flattered by your kind gesture and let you keep the diamonds. Plus, he will offer you the lantern. Wow! So far, this has been a really nice start!
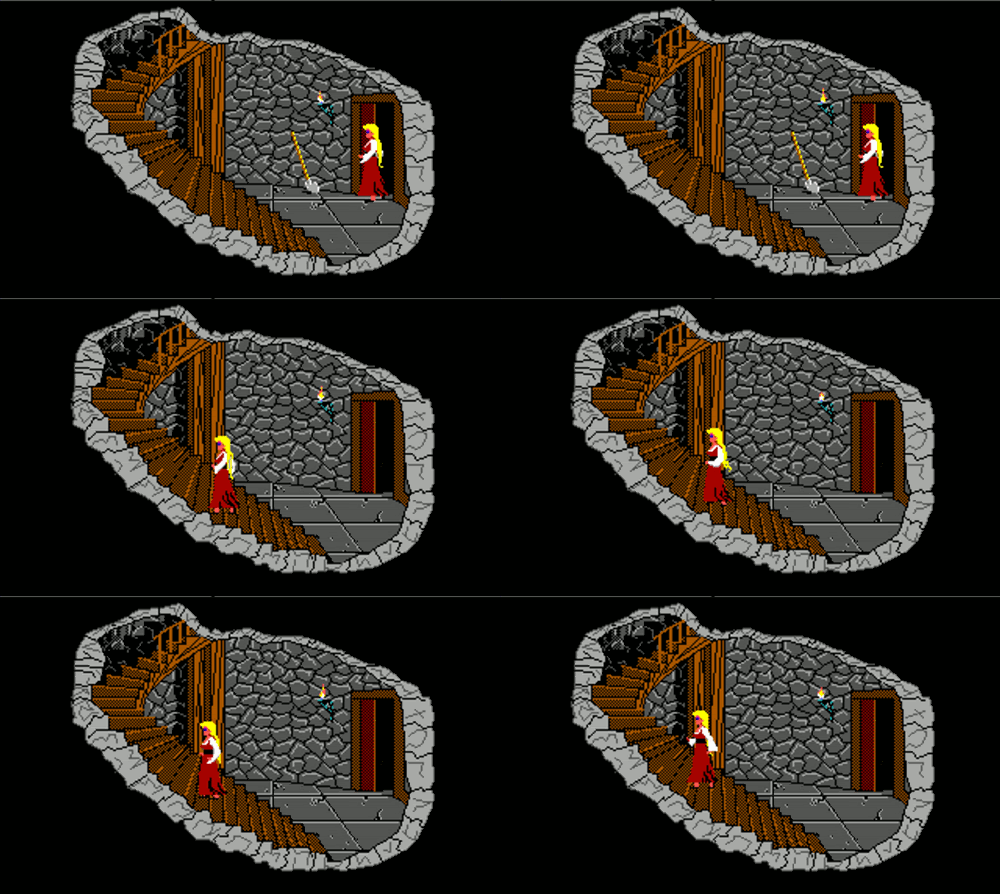
Leave the mine. Go east one screen. There should be a bird trying to pull a worm out of the ground. Leave the screen and return repeatedly until it shows up. You will startle the bird, but that is okay. It will hopefully find another worm somewhere. Take the worm. (Sometimes the bird is pulling a worm one screen north of here as well.) Go north two screens to the haunted mansion. Enter it. There is a clock here. You can always check the time in the game by saying TIME. It is still quite early. Go left into the parlor room. Look at the books on the right bookshelf. Take the Shakespeare book. LOOK AT THE PORTRAIT over the fireplace. Why are the eyes looking at the left wall? Stand next to the left wall and look at the wall. Hey! There is a little latch here! Move the latch to open up a secret door. Nice! Enter the secret room. Take the shovel. SAVE GAME.
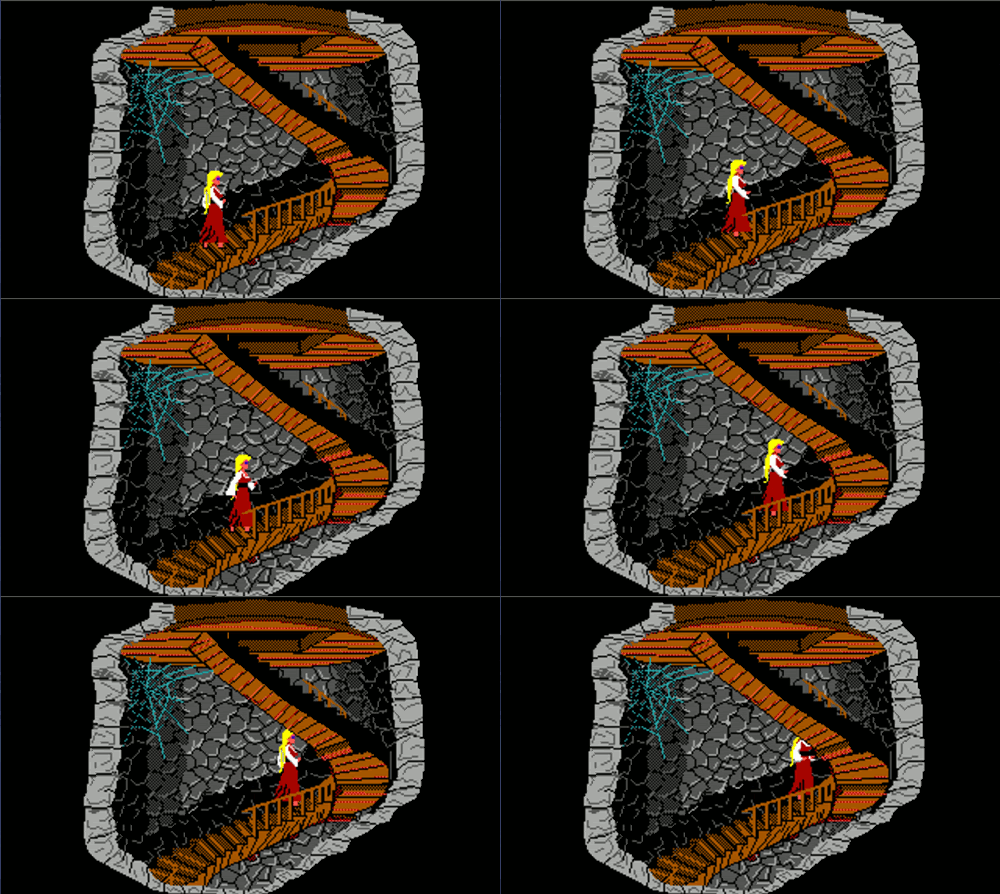
You can go upstairs to the organ,
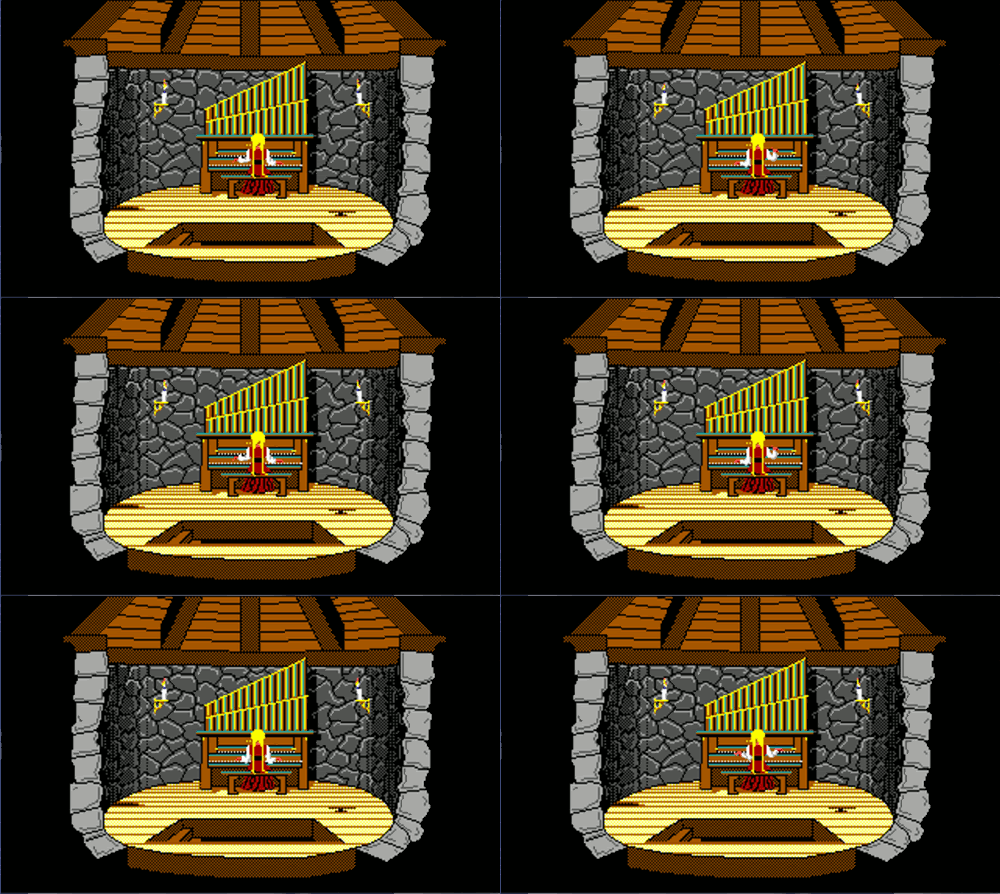
sit down, and play the organ. Nice little song there! Very talented! Other than this, you will not need to revisit the haunted mansion until nightfall.
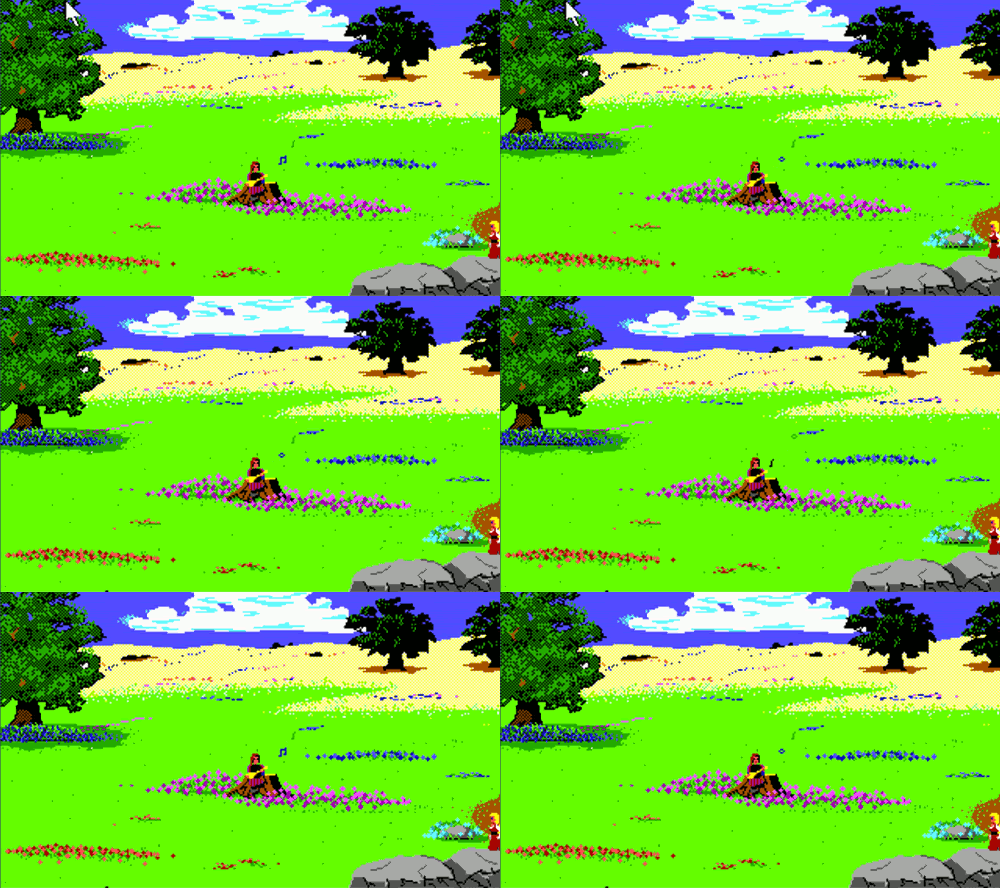
Leave the mansion and go west three screens to a meadow with a stump. A minstrel should be here playing really bad tunes on his lute. If not, leave the screen and come back repeatedly until he shows up. Talk to the minstrel if you like. He will just play more bad music. It's hurting your delicate ears! Perhaps if he had a more quiet hobby, like reading ... Give the Shakespeare book to the minstrel. Not the best actor in the world, but better than what he was doing before! You should have the lute now.
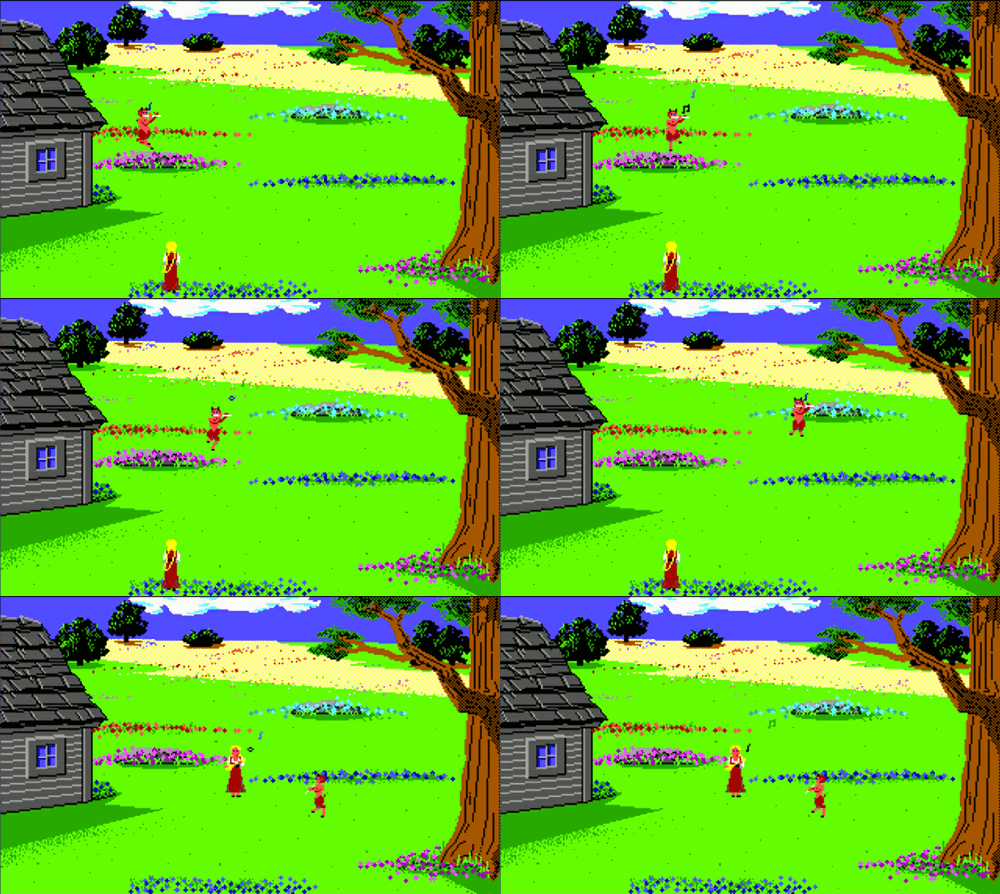
Go north one screen to the back of the fisherman's house. Pan likes to dance and play his flute in this screen or in the screens north and east of here. Walk around these three screens until he shows up. What a lovely tune! Perhaps you and Pan could have a little duet! Play the lute. Pan seems mesmerized with that lute and stops playing his flute. Well, since Pan seems to be interested in that lute, you decide to go ahead and give the lute to Pan. You will get his famous flute in exchange.
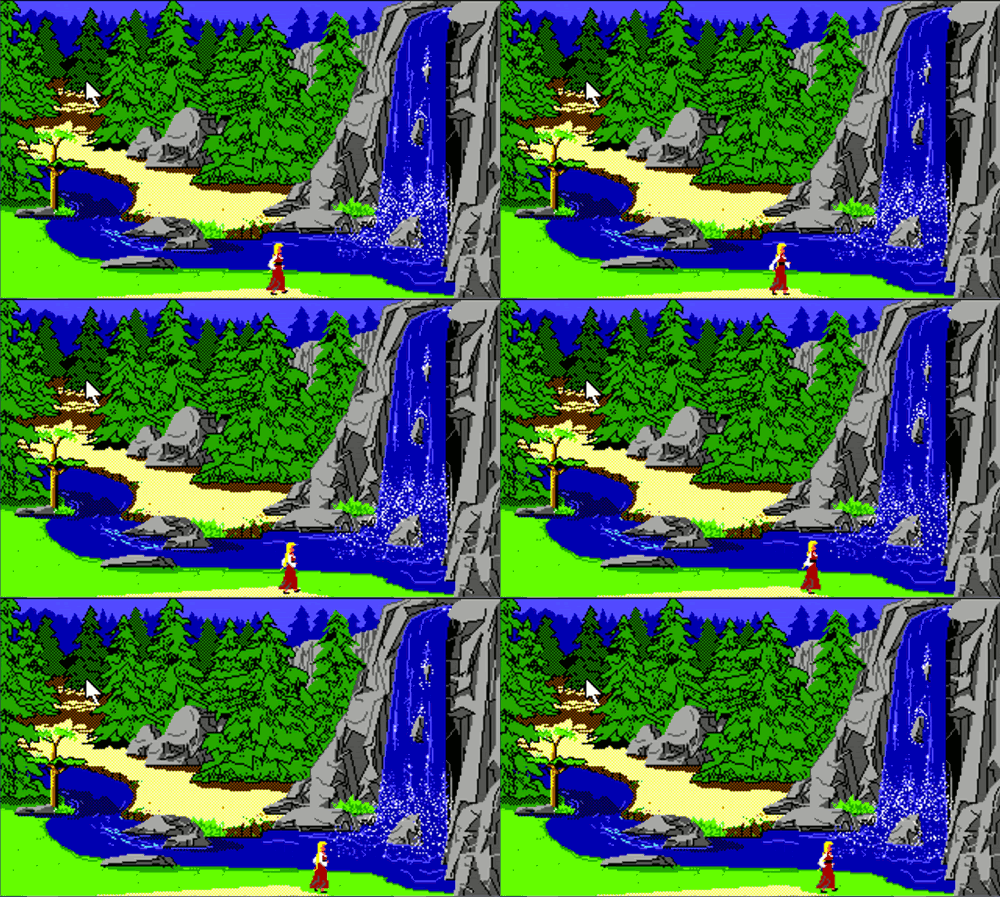
From the back of the fisherman's house, go south two screens and east four screens to the waterfall. What a lovely little waterfall it is! Wonder what is behind it? Let's find out! Well, the current is too strong for Rosella to swim underneath the waterfall, but a little frog might be able to! Wear the gold crown and jump underneath the waterfall to the other side. Ribbit!
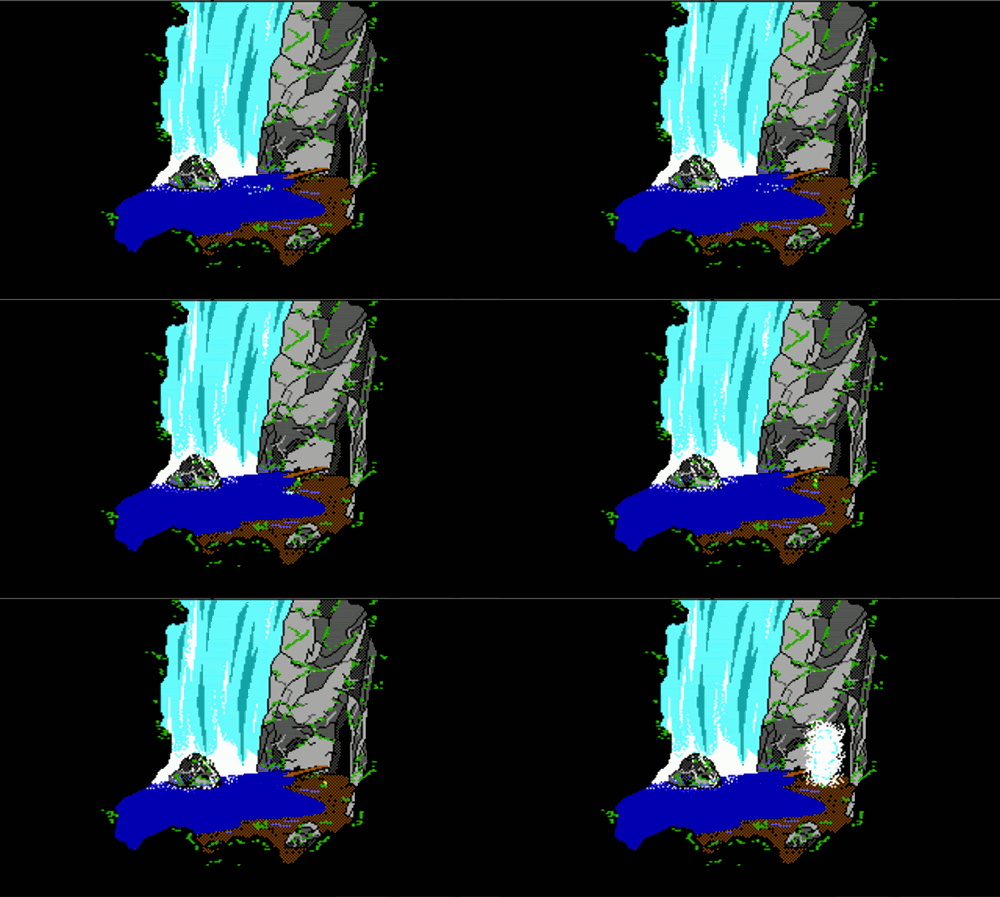
Once behind the waterfall, take the board lying on the ground. SAVE GAME. Light the lantern you got from the dwarves because you are about to enter the troll's dark cave. To survive the cave and the swamp beyond it, you need the lantern, board, and flute. Now enter the cave.
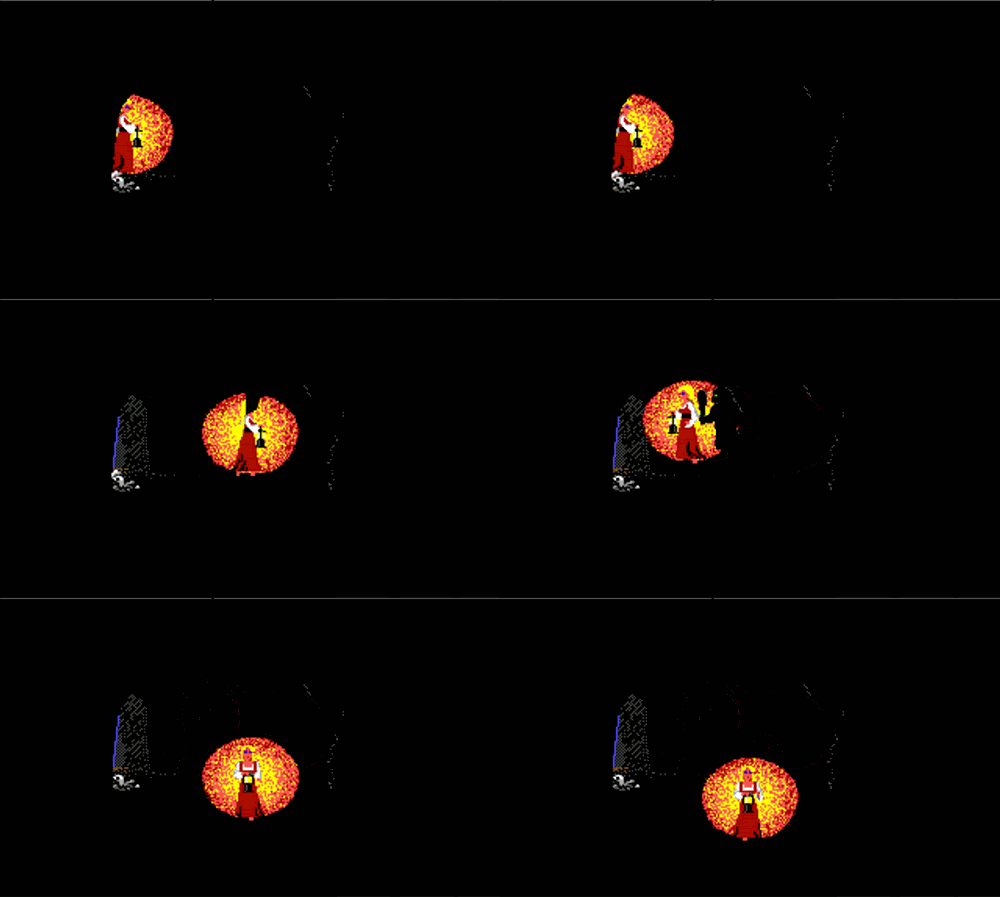
Leave the screen the moment you hear a "GRRRR!" You cannot kill the troll. Just leave that particular screen and come back. Hopefully, the troll will not be there. You may need to restore your game a few times. Now, enter the cave and stop the moment you are inside. Look at the pile of bones right next to the entrance. Take a bone. SAVE GAME. Cross your fingers and good luck!! It is almost pitch black. You (the player) cannot see. There is a troll in here somewhere! Yikes! Go to the middle of the screen and turn south. Continue to the second screen. Maneuver around until Rosella is able to continue all the way all down to the third screen. Then maneuver around until Rosella can exit the third screen near the southeast corner. The moment you are in the fourth screen and there is no troll, stop and SAVE GAME. This screen has a chasm that you need cover with your wooden board or else you will fall to your death. Walk east until you are almost in the middle of the screen. Then PUT BOARD OVER CHASM. If you are not close enough, take little steps closer to the east and try again. Once you successfully put down the board, SAVE GAME, and walk straight east to cross the chasm. Make sure you have the board. Go north and exit through the opening. SAVE GAME. You are out! SAVE GAME.
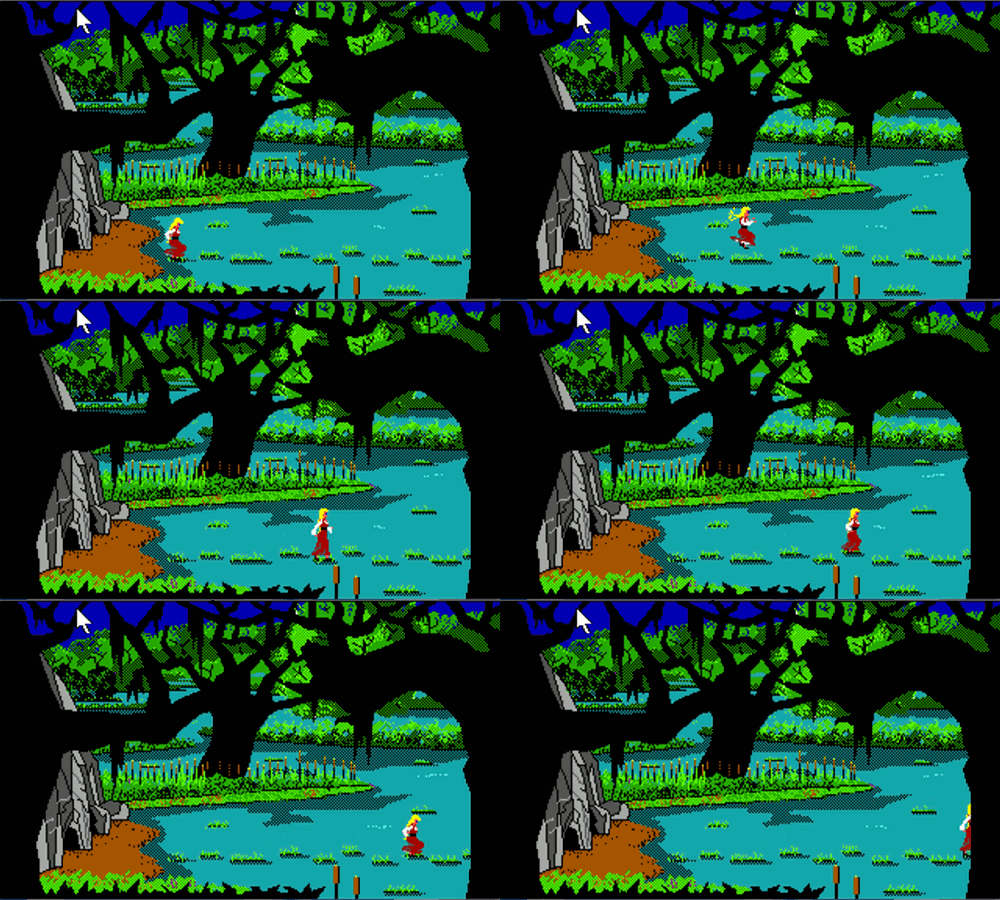
You want to jump for joy upon leaving that cave, so let's just do that. See all those grassy bumps in the swamp? Stand near the edge of the swamp. Do not walk into the swamp or try to become a frog because you will die. Type JUMP to jump onto the first bump. JUMP repeatedly on the bumps until you are at the last bump right before the island with the snake and magical fruit. (The F3 button is quite helpful here because it saves you from typing JUMP over and over again.) SAVE GAME.
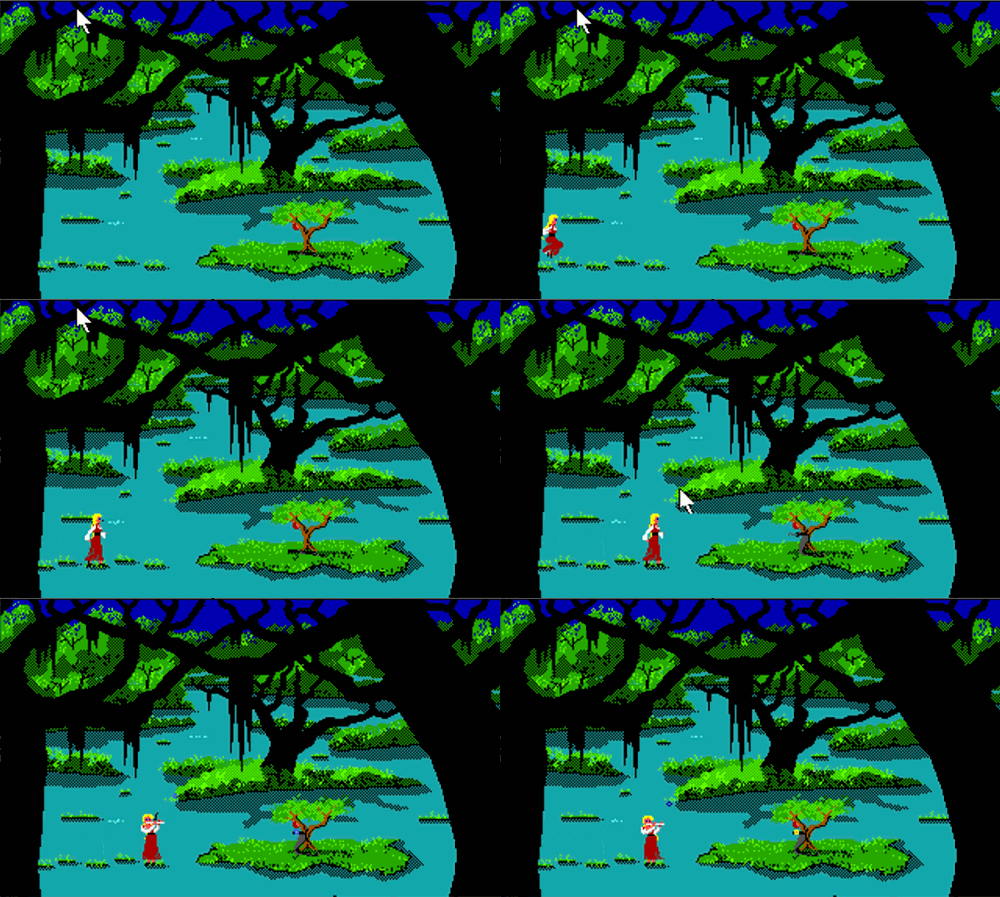
You cannot jump to the island because it is a bit too far away. Put the board down. You have a little bridge. Stand on the bridge, but do not walk onto the island yet. The snake will kill you. Let's see now. Snakes can be charmed if you play some music for it. Whip out your flute, and play the flute for the snake. The moment you stop playing, walk onto the island and take the fruit. Then immediately walk back onto the board and onto the little grassy bump. Using the mouse instead of the keyboard to walk around here may be helpful. Be quick before the snake comes out of its little trance! Take the board and jump back to the cave. Oh, boy! Guess what? You have to go through that cave again! It is still dark, the chasm still exists, and the troll could still be in there! Just retrace your steps!Once you are back outside the cave and behind the waterfall, SAVE GAME. You will never need to re-enter that nasty cave again! Swim into the waterfall, and Rosella will be safely swept out to the other side. Get back on normal land.
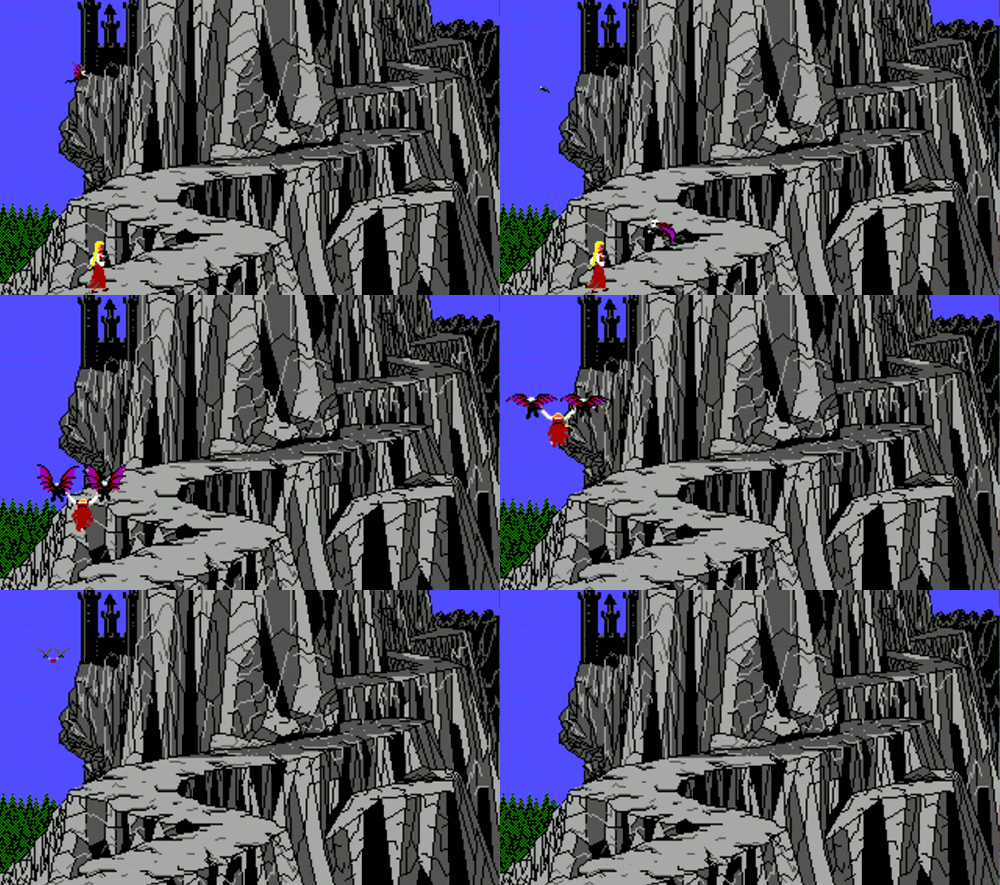
Now that you have the magical fruit (do not even think of eating it!), the time has come to meet the person who stole Genesta's talisman. It is time to visit the evil witch Lolotte up in her castle. From the waterfall, go south one screen to the base of the mountain that has a path leading up to Lolotte's house. SAVE GAME. Carefully walk up the mountain path. Lolotte's flying goons will come and carry you up to meet her.
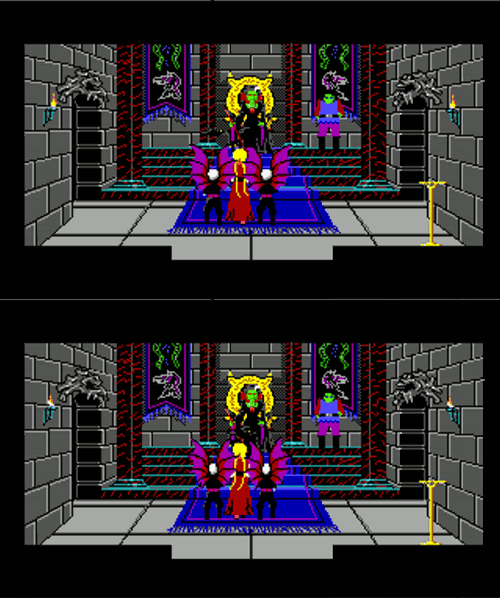
Lolotte demands to know what this visitor is doing in "her" lands. While Rosella pleads that she is an innocent peasant, Lolotte has her doubts.
However, Lolotte's son Edgar is infatuated with Rosella, so she is spared from immediate death.
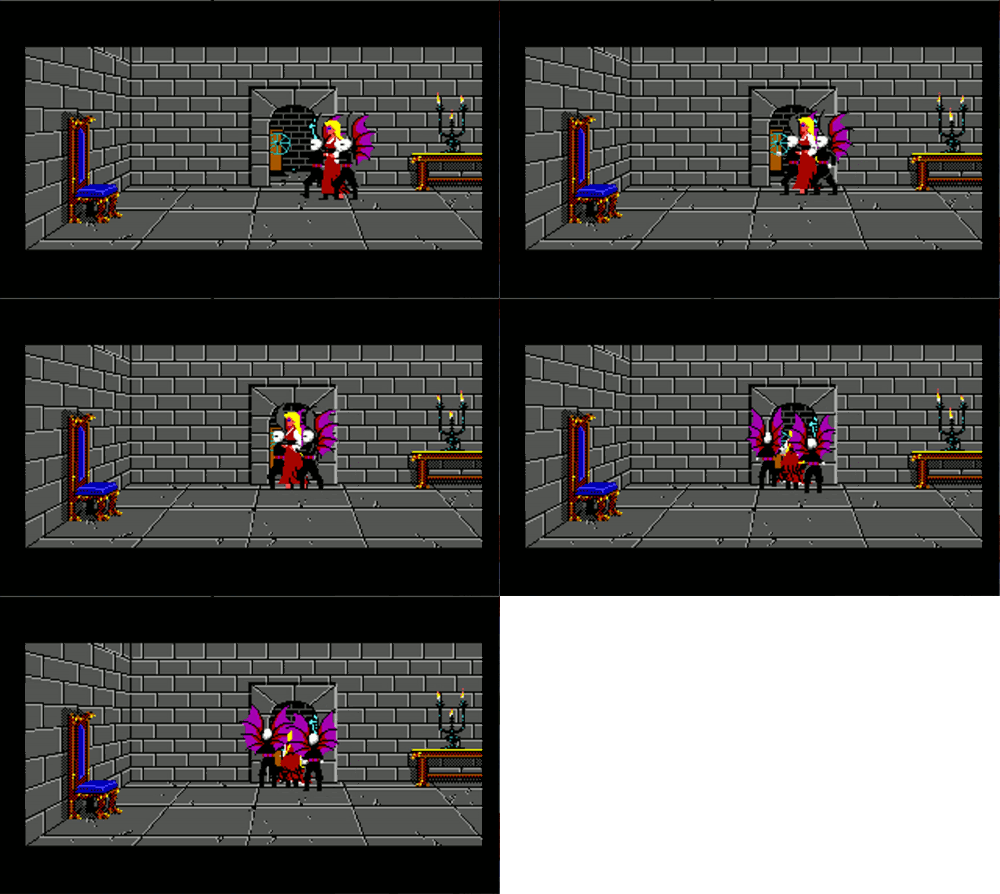
She will throw you into a cell. You can look around at all the grisly objects in the room. Do not restore your game because the goons will come back a few moments later. They will take you back to Lolotte. Apparently, her little Edgar kind of likes Rosella! Aw! Look at him blush! Okay, back to business. Lolotte orders you to bring her the unicorn and tells the goons to take you back down the mountain and into the forest . Once in the forest again, SAVE GAME.
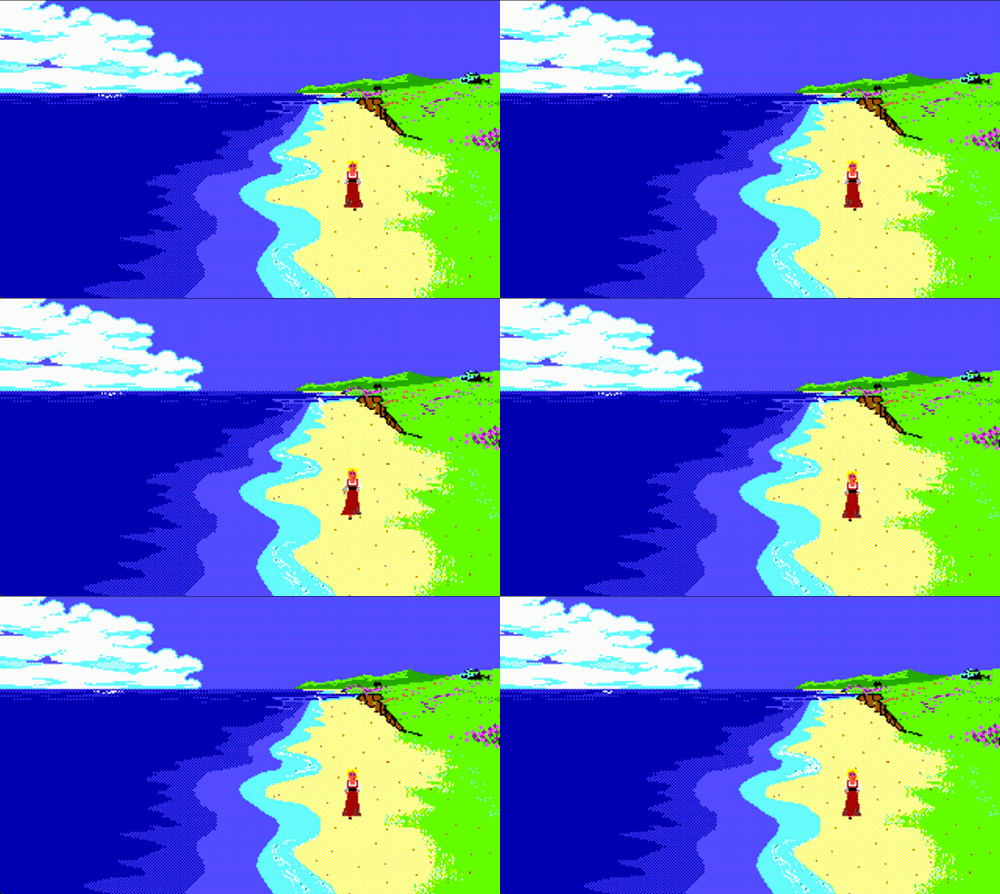
You are now on the mission to capture the unicorn. Of course, every time you come near the unicorn, it runs away. Obviously, you need to do something else with it. For now, let's visit the fisherman on his pier. Perhaps he may know something about the wildlife here. From the base of the mountain to Lolotte's castle, go west five screens and south two screens to the fisherman's house.
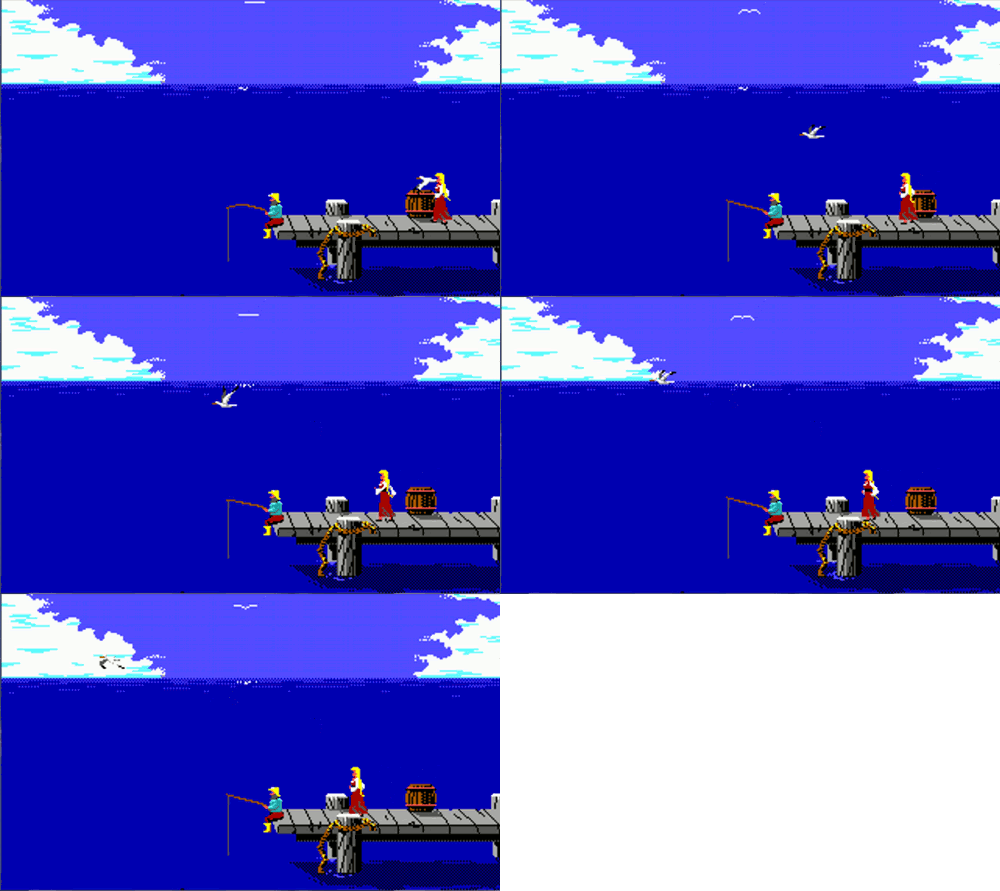
Go west onto the pier. The fisherman should be there fishing. If he is not there, leave the screen and come back repeatedly until he does. Stand there and wait. The fisherman will eventually give up fishing, stand up, and walk home. Chances are, you are blocking his path on the pier. If this is the case, move aside. Inch a bit north or south to let him pass. If you just cannot do this, go ahead and jump into the water. Follow the fisherman home and see him enter his house. Then knock on the door and enter. Talk to the fisherman and to his wife. They are a very unfortunate couple, aren't they? How sad! Wait a minute! You still have that diamond pouch from the mining dwarves! Give the pouch to the fisherman, and the couple will be thankful. You accept their offer and take that fishing pole. Well, unfortunately, they know nothing about the unicorn, so leave. What else to do with a fishing pole than to go fishing? Go to the edge of the pier. Put the worm on the hook of the fishing pole and GO FISHING. This may take several tries before you actually catch a fish. SAVE GAME.
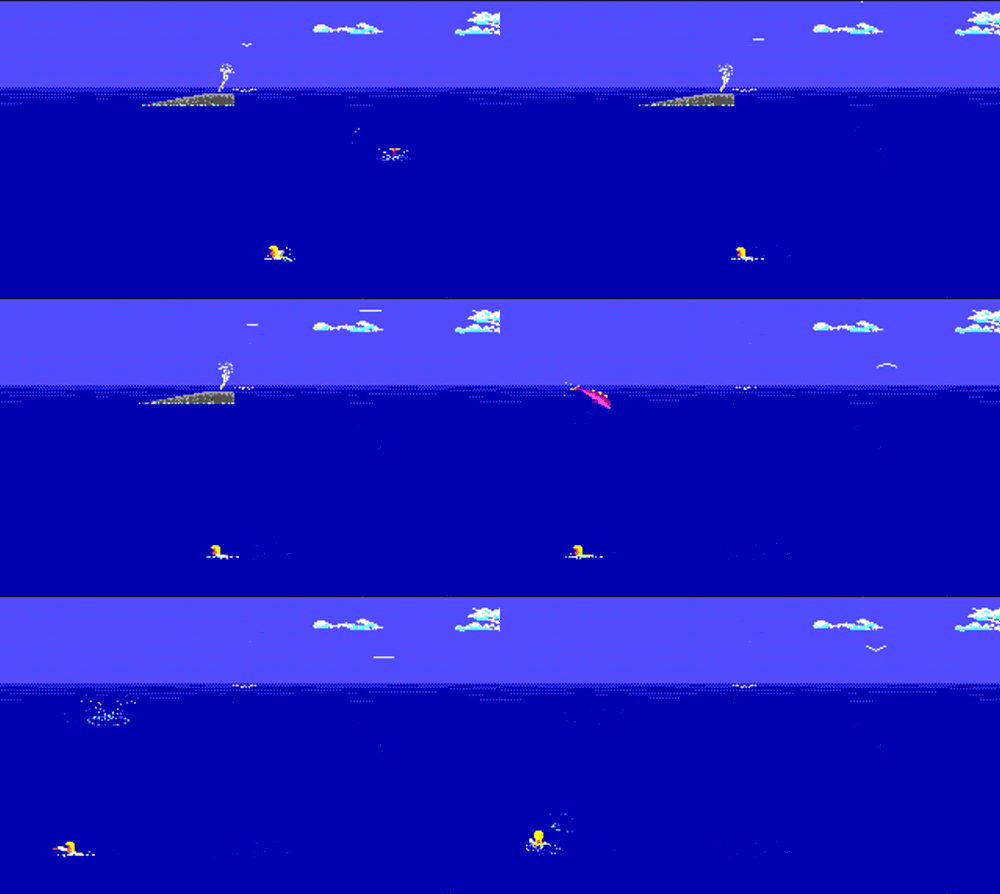
You remember Genesta and her fairies leaving the beach and heading west. Perhaps Genesta lives out there. Maybe you can visit her and ask her how to get that unicorn. Walk off the pier and into the water. Swim straight west for two screens until you hit an island shore. Sharks infest these ocean waters, so you may become shark feed and have to restore your game before making it to the island.
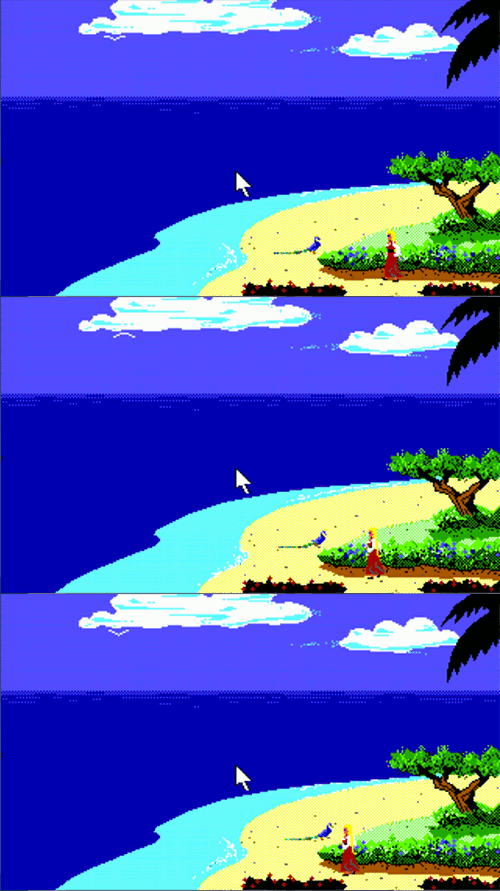
There is a peacock running around all along the beach. Follow it around until you find one of its blue feathers. Look at the ground. Take the feather.
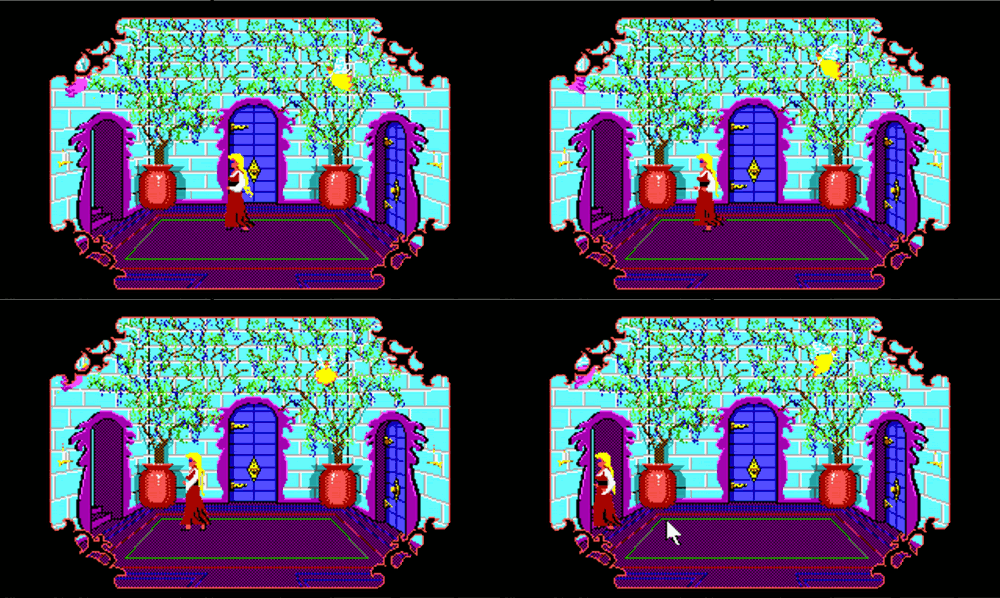
You can enter Genesta's castle, go through the left doorway,
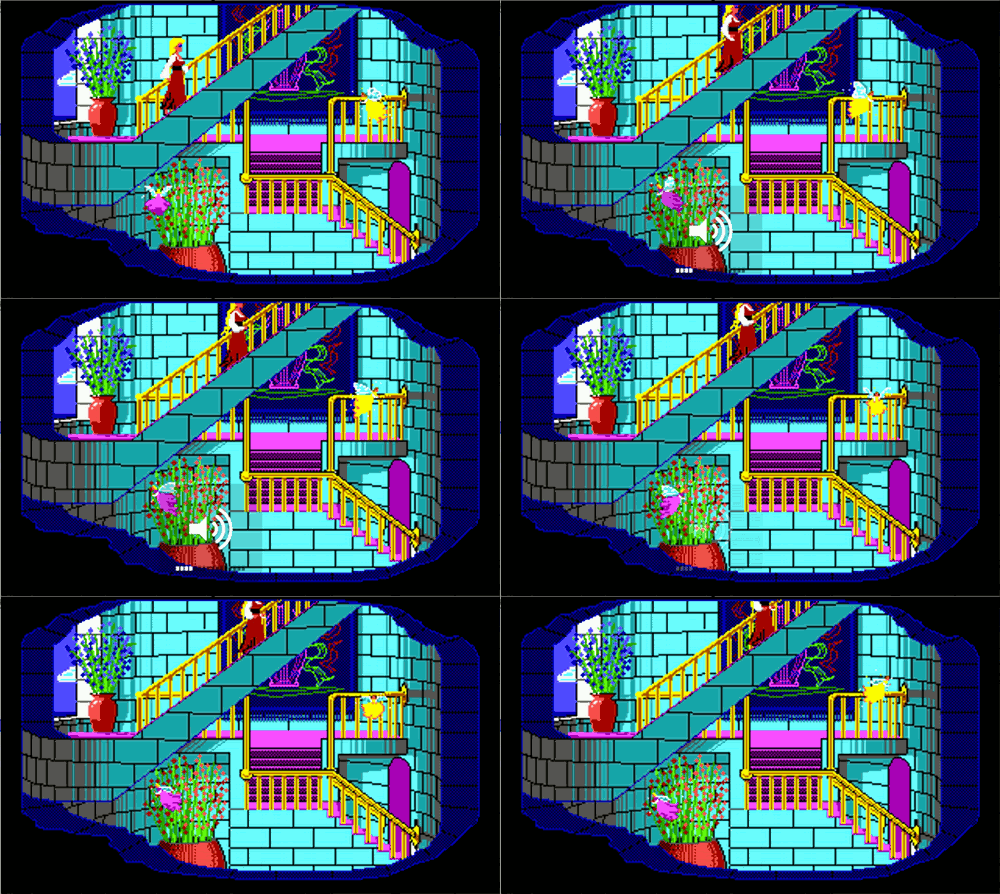
and climb upstairs to meet her.

She is very ill! Let's not disturb her and ask her anything. Other than this, you cannot do anything else in the castle. The other doors are locked for good. Exit and return the island shore where you first arrived. SAVE GAME.
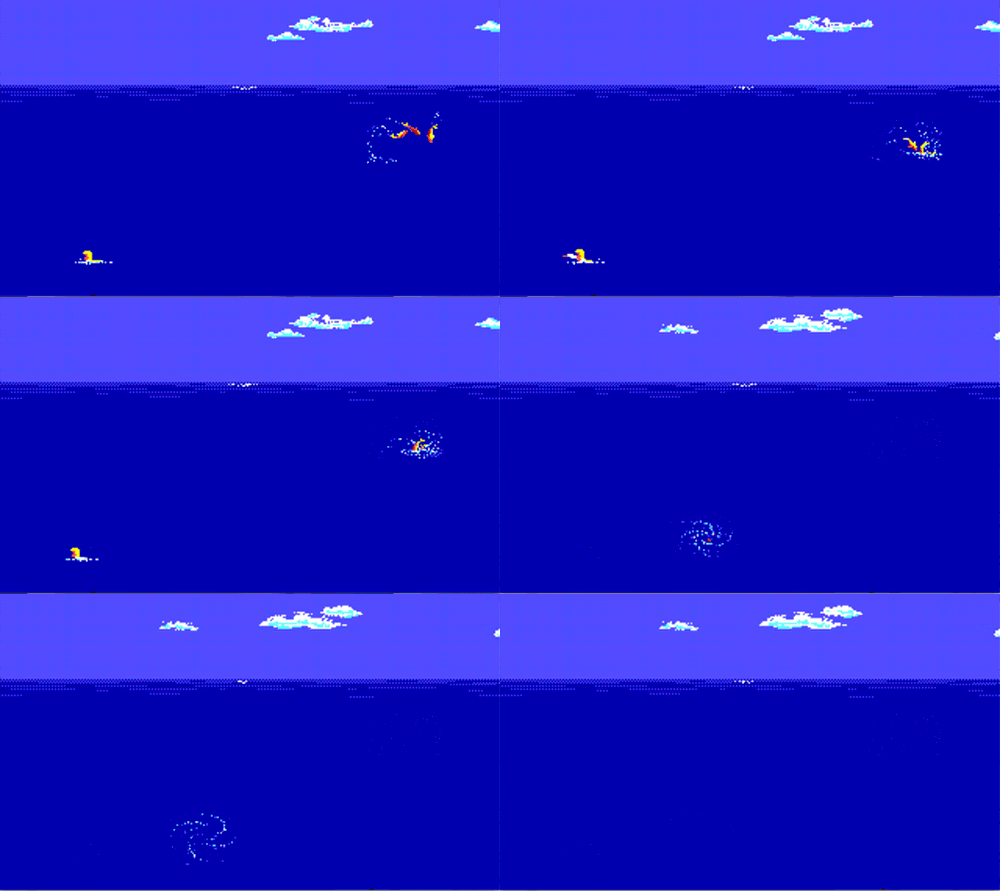
Now, it is time to find a whale. The whale likes to hang out in the two ocean screens between the shore you are standing on right now and the fisherman's pier (which is straight east from here). Swim back and forth in these two screens until you see a whale. The moment you see it, stop swimming and wait. A few seconds later, you will get sucked under the water and into the whale. SAVE GAME. Now, the whale shows up very randomly, so sometimes you get lucky and find it almost immediately. Other times, it takes forever for that whale to show up! Unfortunately for Rosella, the shark seems to show up a lot more frequently than the whale. Just restore your game and try again until you find that pesky whale.
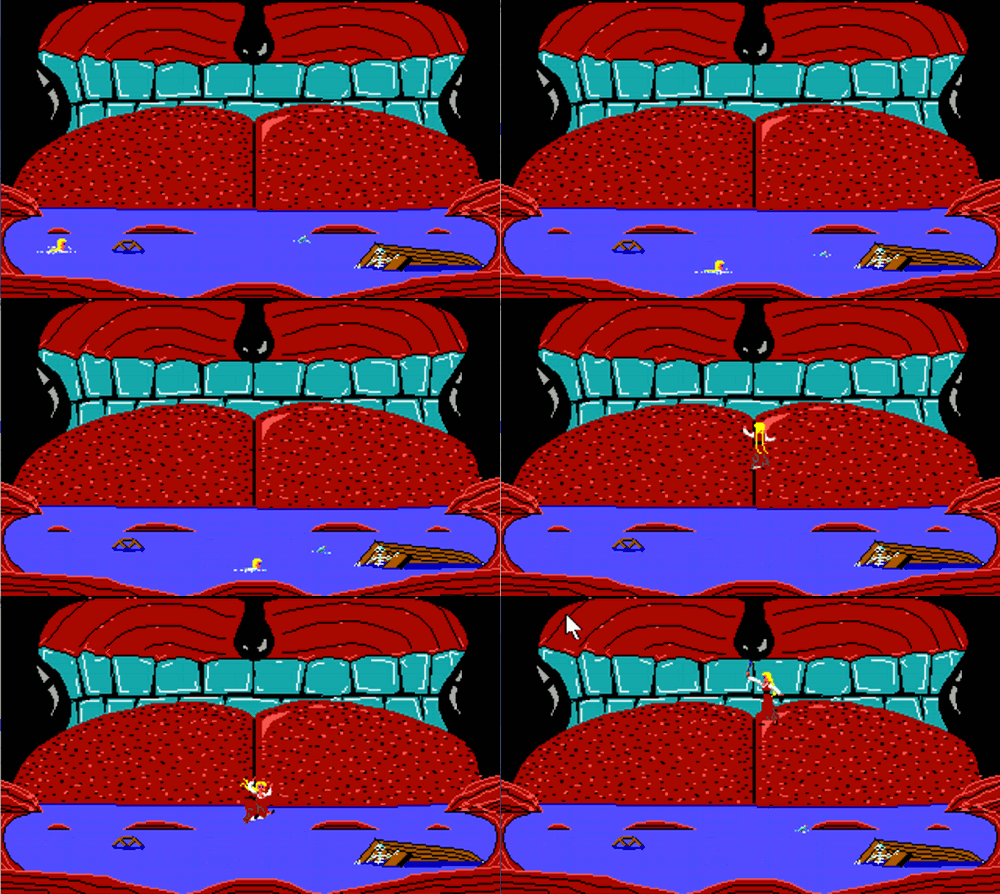
Once inside the whale, you have to climb its tongue and stand underneath its uvula (punching bag thing) in order to tickle it with the peacock feather from Genesta's island. But first, just for fun, take the bottle and read the note that is inside it repeatedly for neat messages from frustrated Sierra game players!
The climbing part is really hard! You need a starting place. There are four tissue bumps in the water. Sierra suggests that you swim to the rightmost tissue bump. Position Rosella so that she is exactly on the left side of this bump, literally rubbing against it. This is your starting point. Set the speed to slow and start climbing the whale's tongue. Rosella will probably fall and slip a lot. You need to climb up and towards the middle of the tongue until Rosella is able to stand up. Once she does, SAVE GAME!!!! For some people, using the diagonal movement keys along with the straight arrow keys may be helpful here: HOME, PAGE UP, END, PAGE DOWN. On the numeric keypad, use the 1, 3, 7, and 9 keys. Make sure the NUMLOCK button is off. However, what Kimmie has always done is the following: Swim to the leftmost tissue bump. Position Rosella so that she exactly on the right side of this tissue bump, literally rubbing against it. This is your starting point. Set the speed to low and climb straight up the tongue. Watch her left arm when it is extended. The moment her left hand meets the line where the tongue ends and the teeth begin, STOP! Never let her had reach too far into the teeth area. Then move straight west just a couple of steps. Stop. Climb up a bit, remembering to watch her left hand again. Stop. Move west a couple of steps. Stop. And so on until she stands up. See which method works for you. As you can tell, you can climb the whale's tongue from either the left side or the right side. Walk straight to the middle line of the tongue and straight up to the uvula. Tickle the uvula and you will get sneezed out into sea!
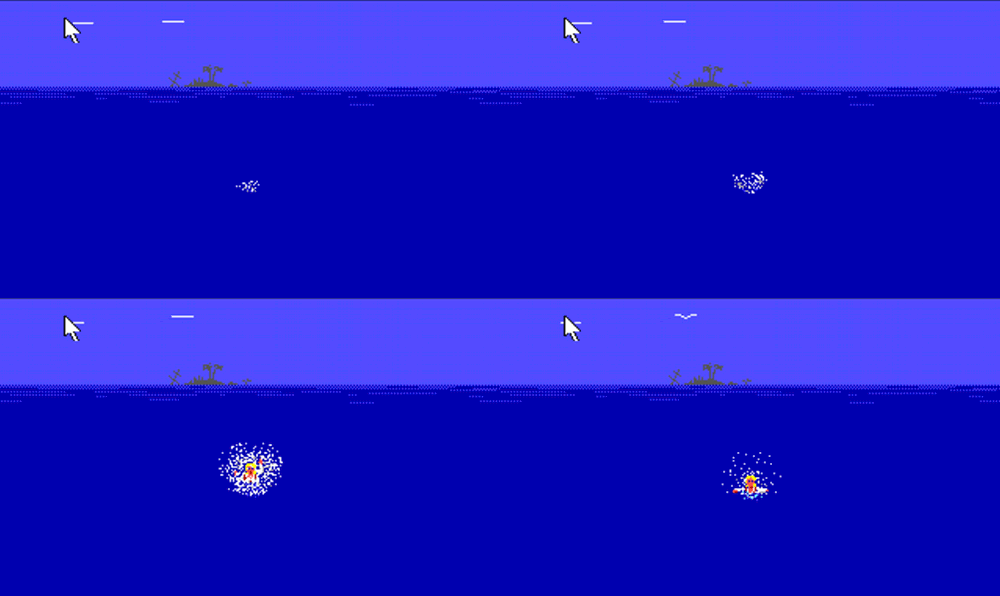
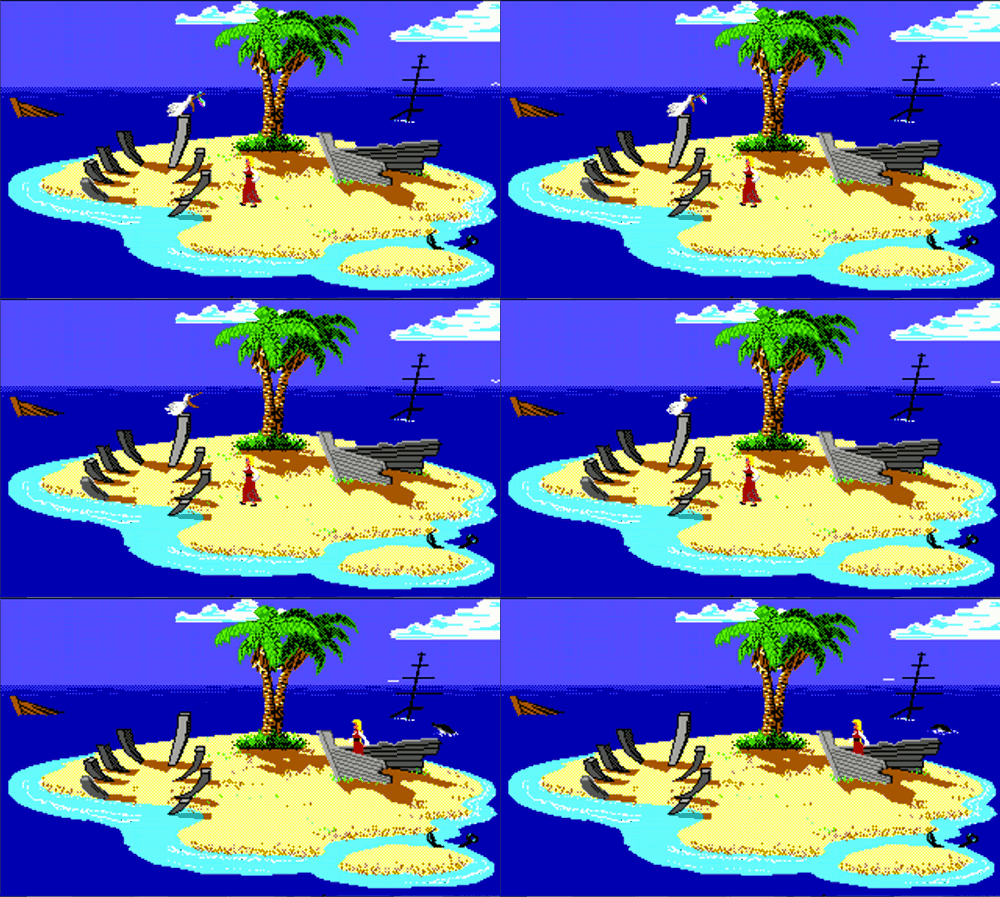
Swim north to the deserted island. SAVE GAME. Now, you cannot stay too long on this hot island or else you will die of thirst! There is a pelican with a nice little whistle. Throw the fish that you caught at the fisherman's pier to the pelican. It will drop the whistle. Take it. Go stand inside the boat debris that got wrecked on the island. Look inside the boat to see a bridle. LOOK IN BOAT or LOOK INSIDE BOAT or LOOK AT GROUND. Hey, that might be useful for the unicorn! Take the bridle. Now how to get off this island? Perhaps someone will hear you if you blow that whistle. Blow the whistle. Oh my! A dolphin! Swim towards the dolphin and ride the dolphin back to shore. SAVE GAME.
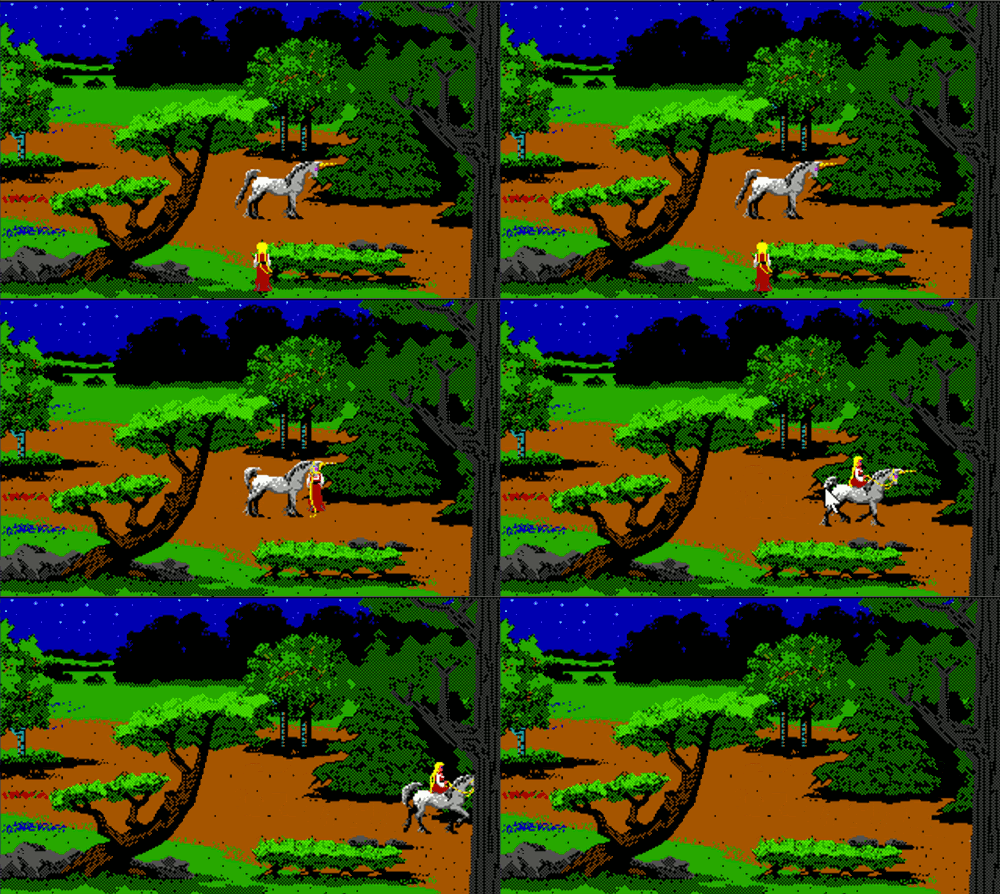
Now to find that unicorn. Go north one screen and east one screen to the stream again. Leave the screen and come back repeatedly until the unicorn appears. You need to make it overcome its shyness and like you, so SHOOT THE UNICORN with your Cupid's arrow. Ah! It loves you now!! Put the bridle on the unicorn and ride it straight east
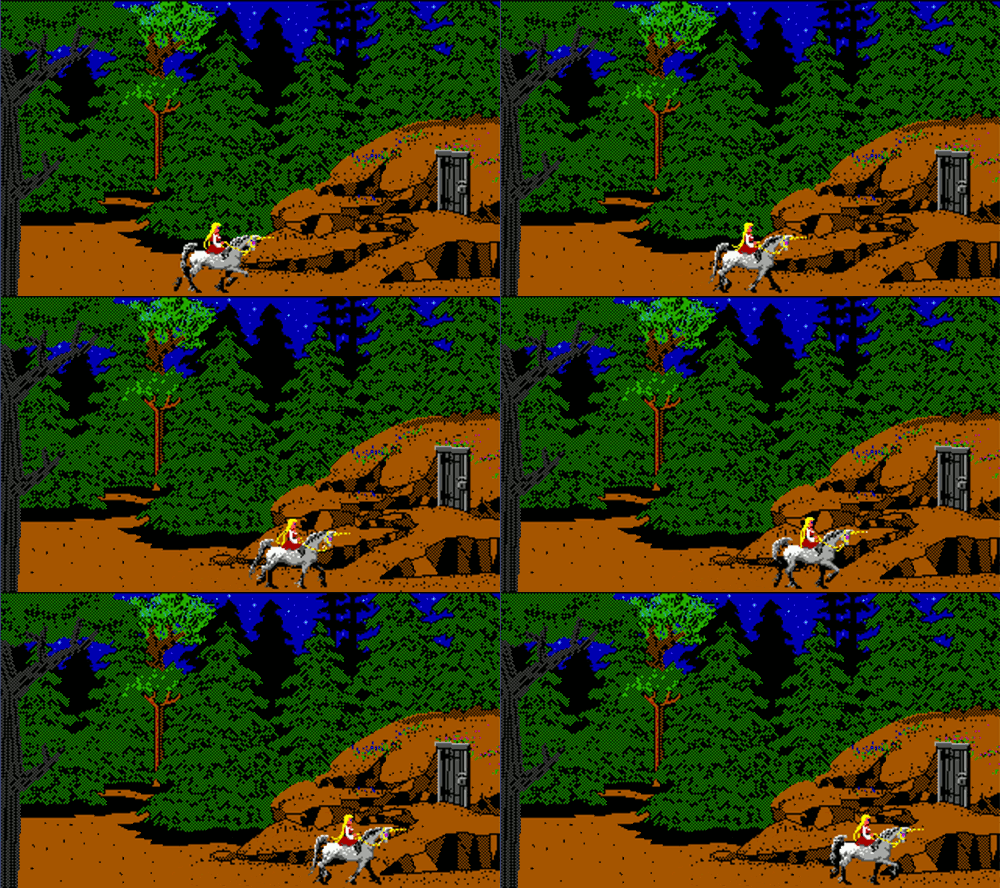
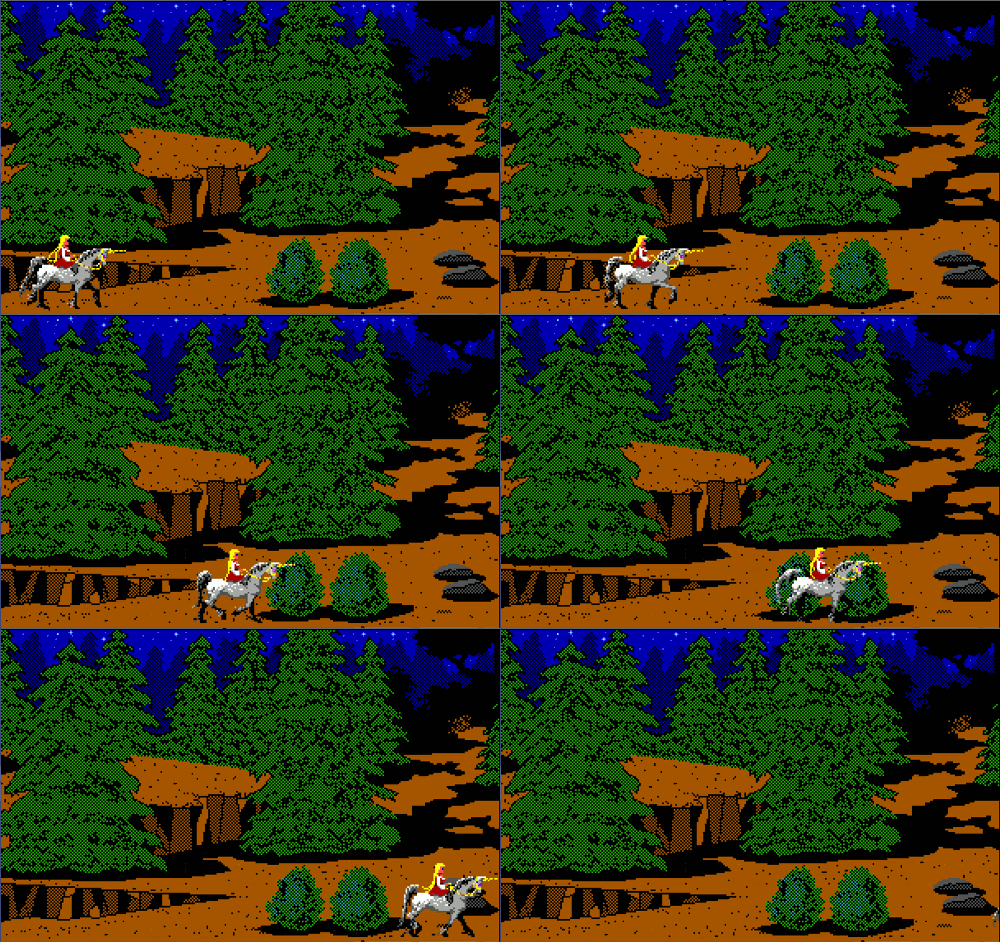
Continue East towards Lolottes castle.
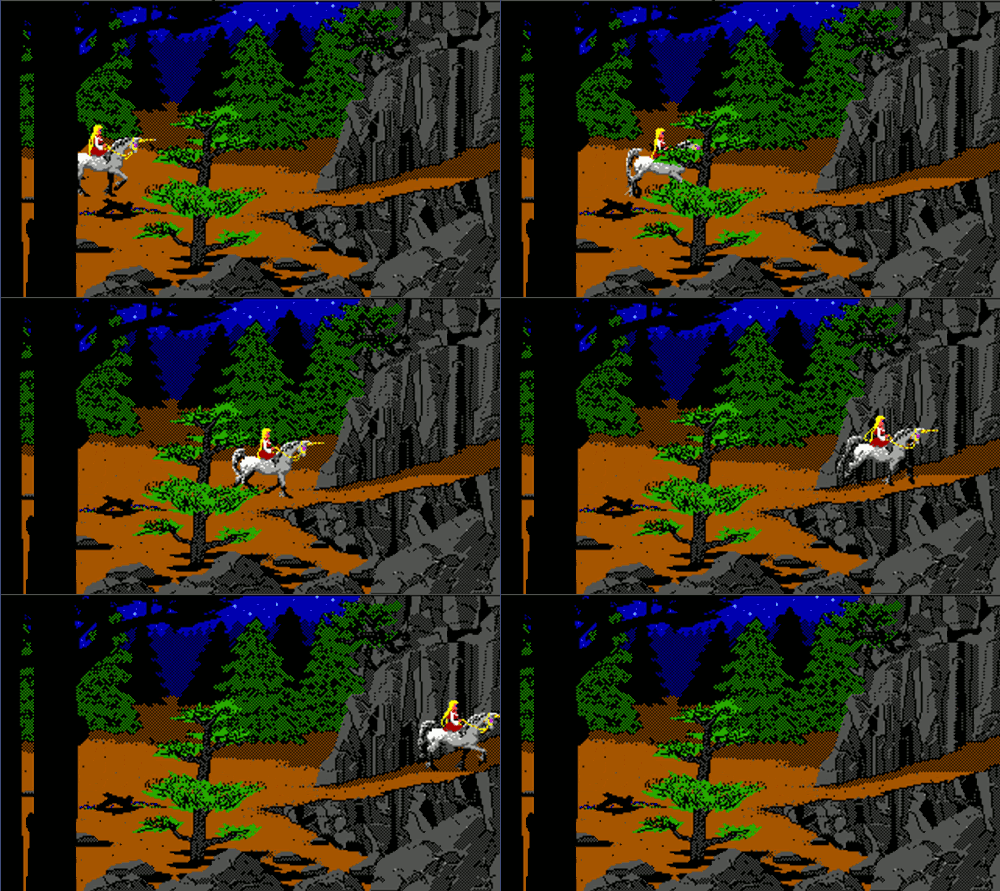
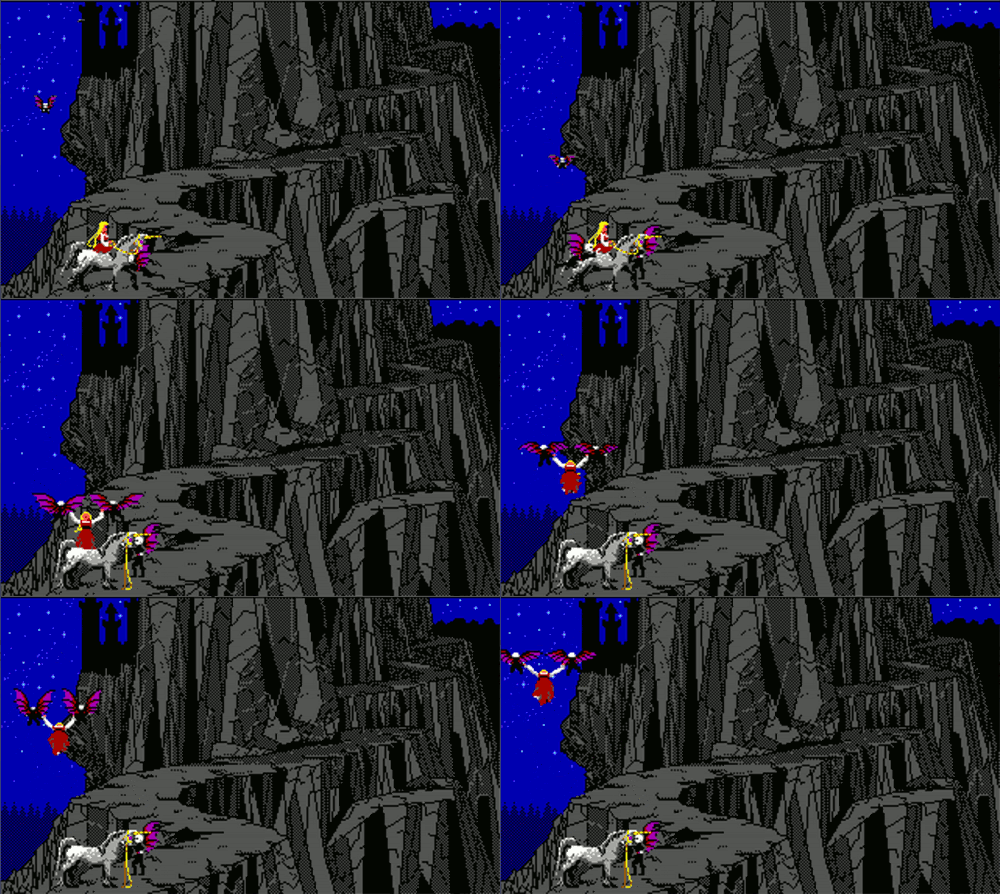
Lolotte's goons take you to her.
Lolotte will tell you to find another item -- a hen that lays golden eggs. After the goons drop you back down, SAVE GAME. It is now time to pay a visit to the ogre's house
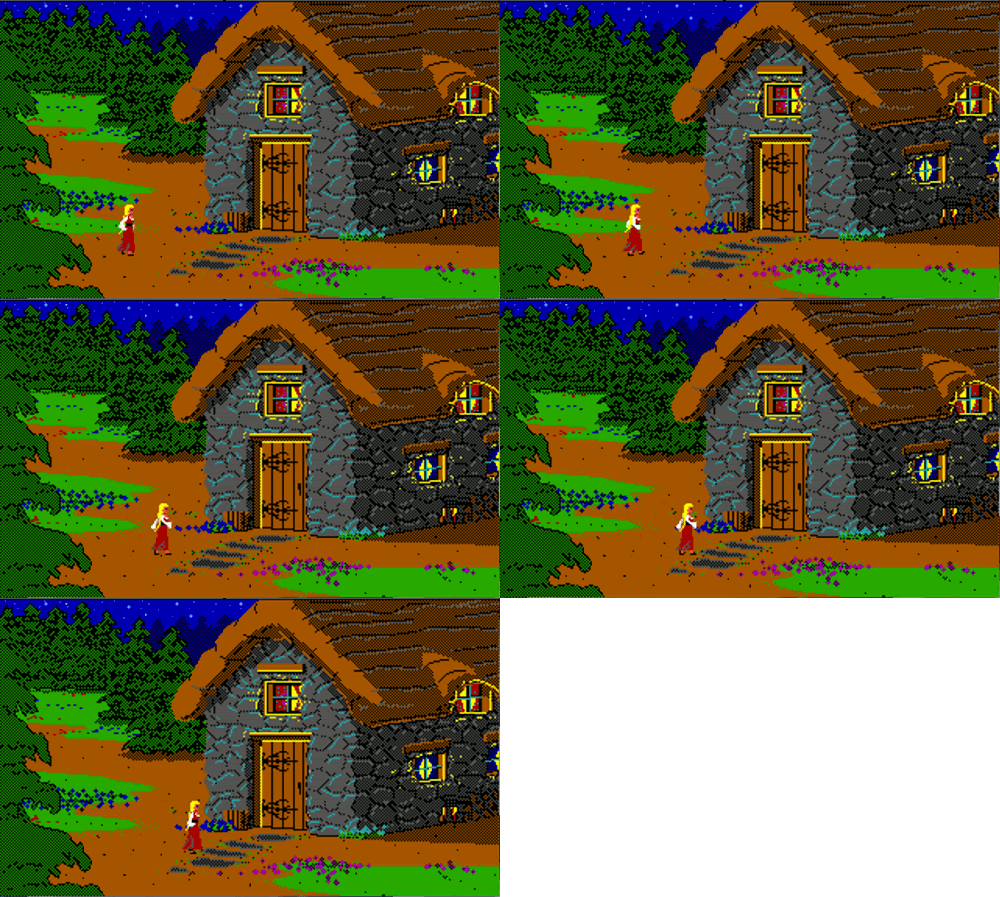
Go west two screens and down one screen to the ogre's house. If the ogre or ogress comes after you, leave the screen and come back repeatedly until they no longer show up.
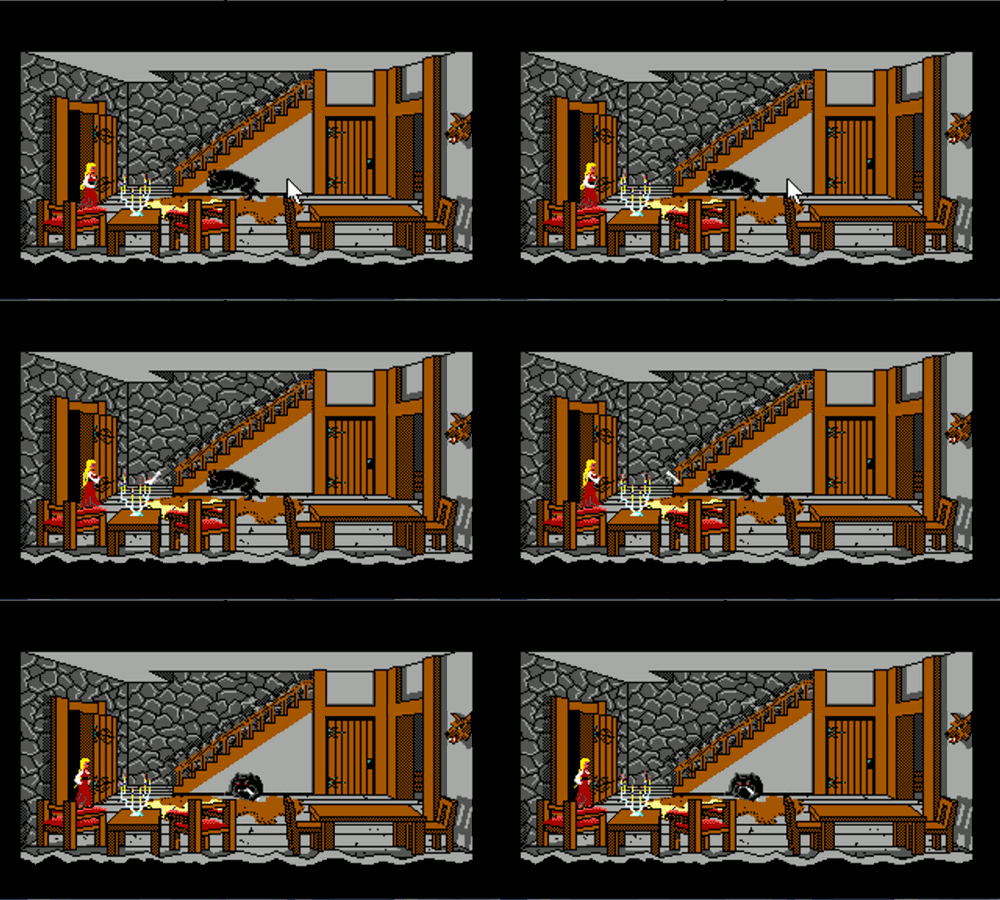
Open the door, enter, and immediately type THROW BONE. Hopefully, you did get the bone just inside the entrance of the troll's cave. If you are not quick to throw, the bulldog will get you!
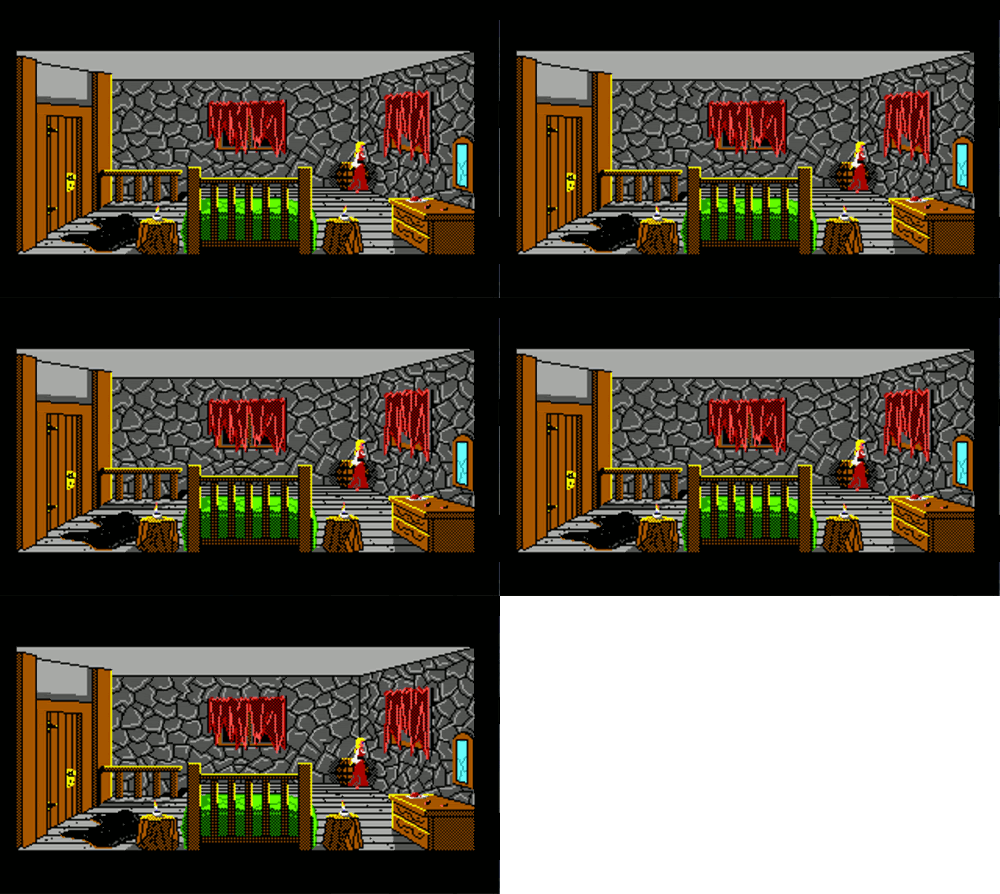
Now that the dog is busy, go upstairs and take the axe in the corner. There is nothing else up on the second floor. You cannot unlock that door. Go back down. Do not go into the kitchen!
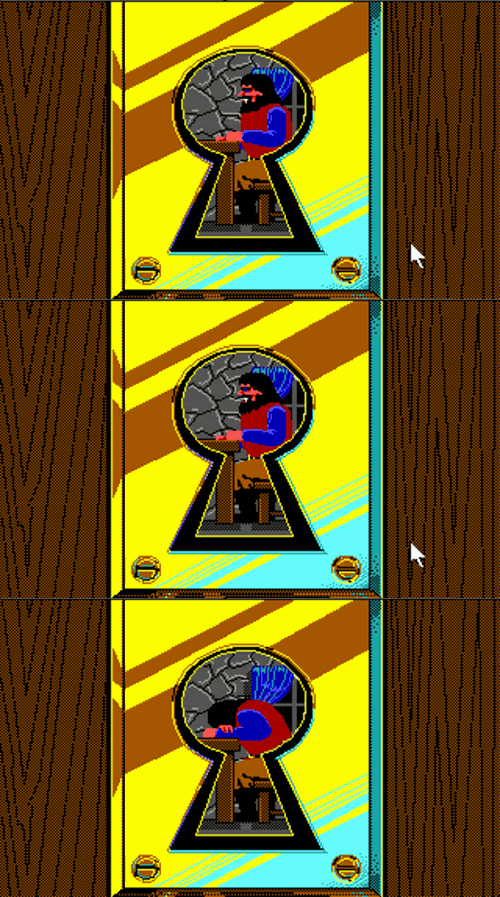
Underneath the stairs is a closet. Open the closet and enter it. Look in the keyhole. Nothing yet. Wait until the ogre comes home. This will take a while. Look in the keyhole again. He will demand food, his hen, and then fall asleep. SAVE GAME.
Open the door. Take the hen and run like crazy out of the house and west to the scary forest. SAVE GAME. and north to the diamond mine screen.SAVE GAME. Go east two screens and take the hen to Lolotte.
Lolotte will tell you to do a third and (thankfully the last) task for her. You need to get Pandora's box. Once the goons drop you down, SAVE GAME, go east one screen and down one screen to the scary forest.

The moment you enter the scary forest screen, do not continue further. WAVE AXE (from the ogre's house) to scare the trees. Now the trees will not hurt you.
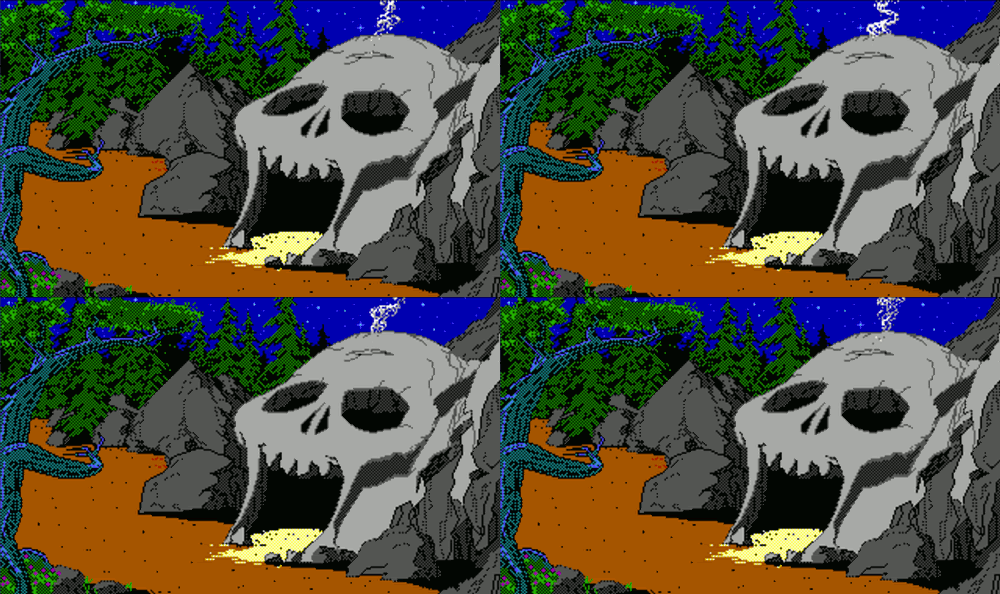
Go east to the skull cave. SAVE GAME

Enter the skull cave.
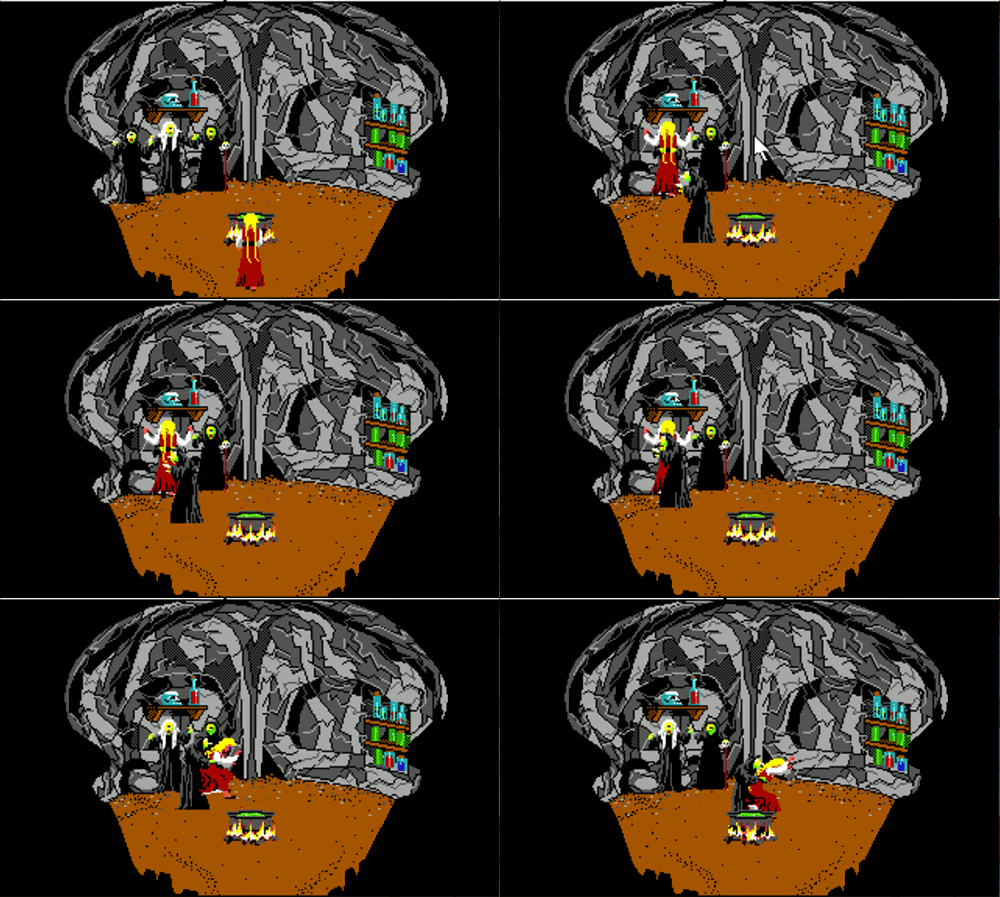
Inside the skull cave are three witches with their glass eye. They will only appear after you have given the hen to Lolotte. The moment you enter the cave, one of the witches will chase you. Avoid her as much as possible. You need to walk around the black cauldron and stand in the middle of the other two witches in order to TAKE THE EYE from them. Once you do this, leave the cave and re-enter it. The witches will throw something on the floor in exchange for their eye. Take the scarab on the floor. Throw the eye at the witches. Do not listen to them. Just leave. SAVE GAME.
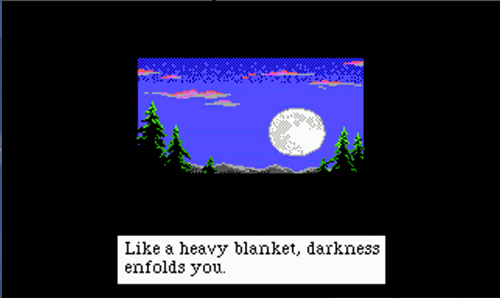
If you have the magic fruit, night should fall soon. Night falls at 9:00 PM in Tamir. You can check the clock in the haunted mansion if needed. Once night arrives, go to the haunted mansion if you are not there already. From the skull cave, go south two screens and west two screens to the haunted mansion.
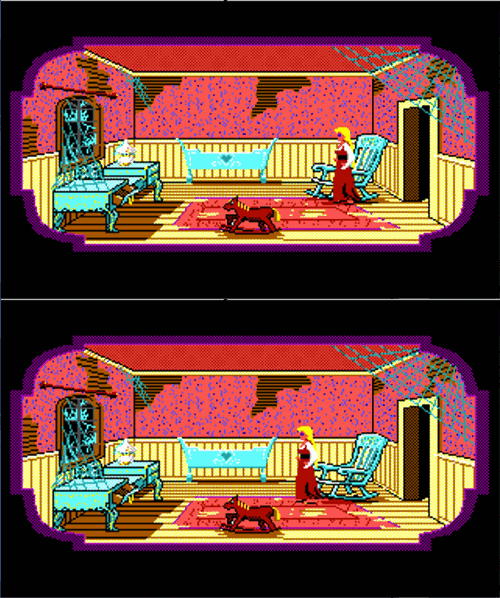
Open the door and enter. You should hear a baby crying upstairs. Go upstairs and into the left doorway. In the bedroom, go left into the nursery. The crib is rocking back and forth, but when you look inside the crib, it is empty! The baby is a ghost! Perhaps the baby needs a little toy.
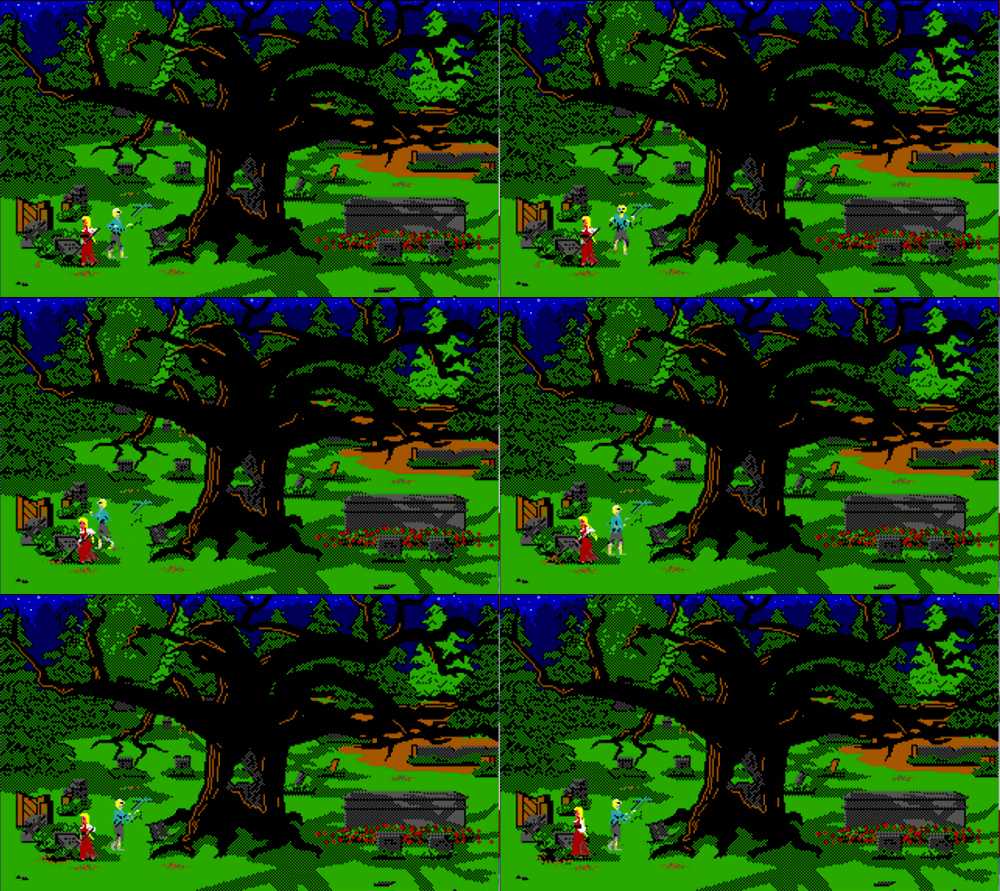
Go downstairs and exit the house. Go to the west graveyard. If you have the witches' scarab, the zombies will not harm you, so ignore them. In the upper lefthand area of the graveyard, there is a tombstone for six-month-old Hiram Bennet. Read the tombstones until you find it. SAVE GAME. Then, using the shovel you found in the secret room in the mansion parlor room, DIG up the grave. Why, it is a little rattle! Take it. A note about the shovel: You will eventually dig up five graves. You have already dug up one grave. The shovel will successfully dig up five graves with no problem. It will break when you try to dig up a sixth grave, so if you mess up and dig in the wrong place, restore your game and try again. Go back into the nursery and give the rattle to the baby.
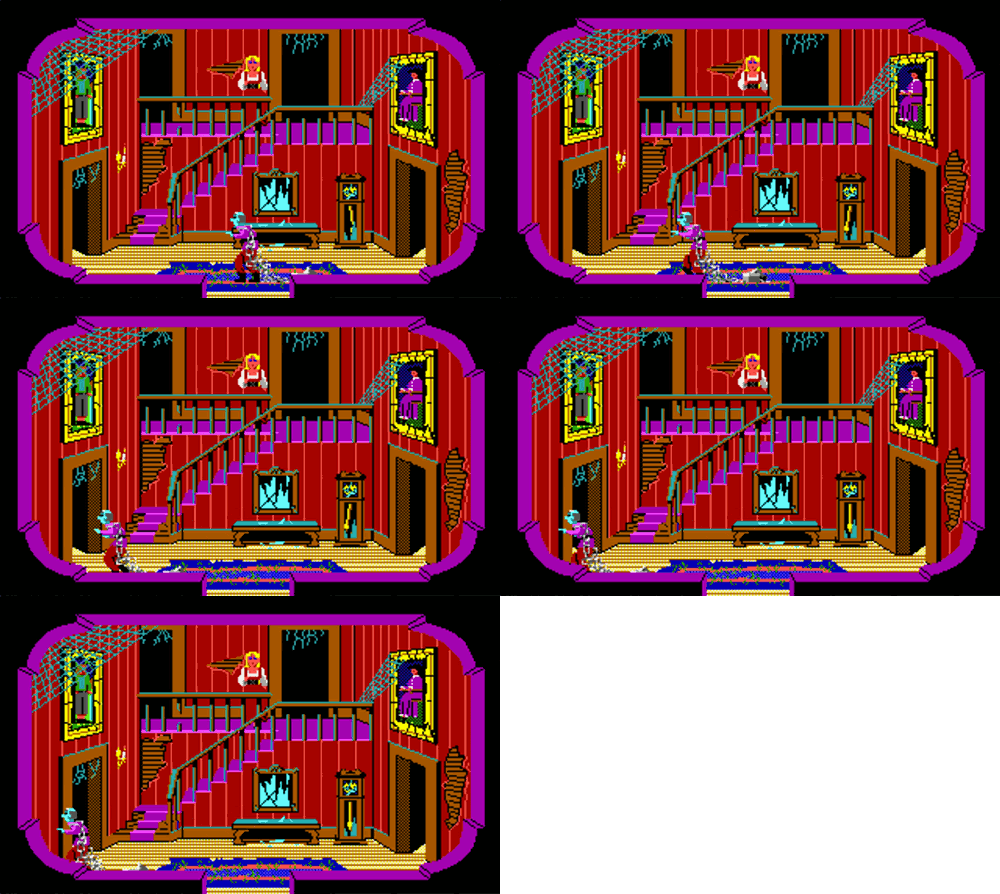
You should hear rattling downstairs. Look at the ghost and go to the west graveyard again.
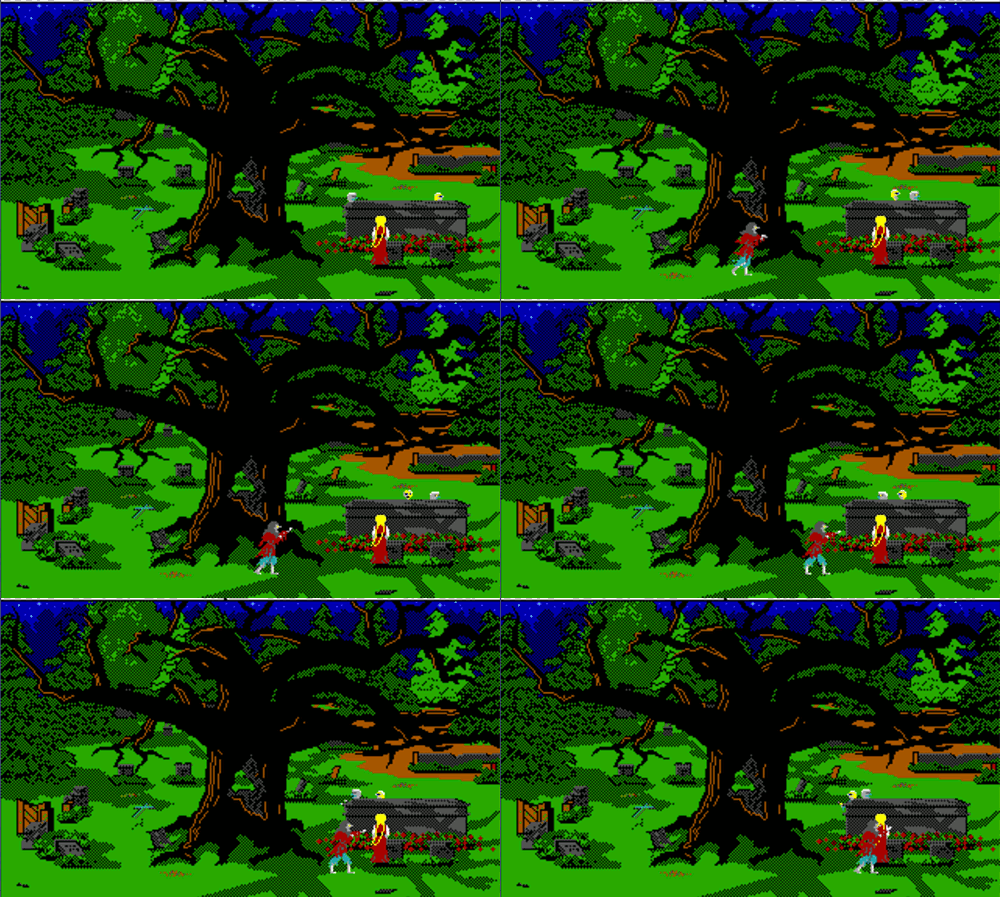
In the front leftside area of the graveyard, there is a miser's grave named Newberry Will. Read the tombstones until you find it. DIG. Take the bag of coins, and give it to the ghost.
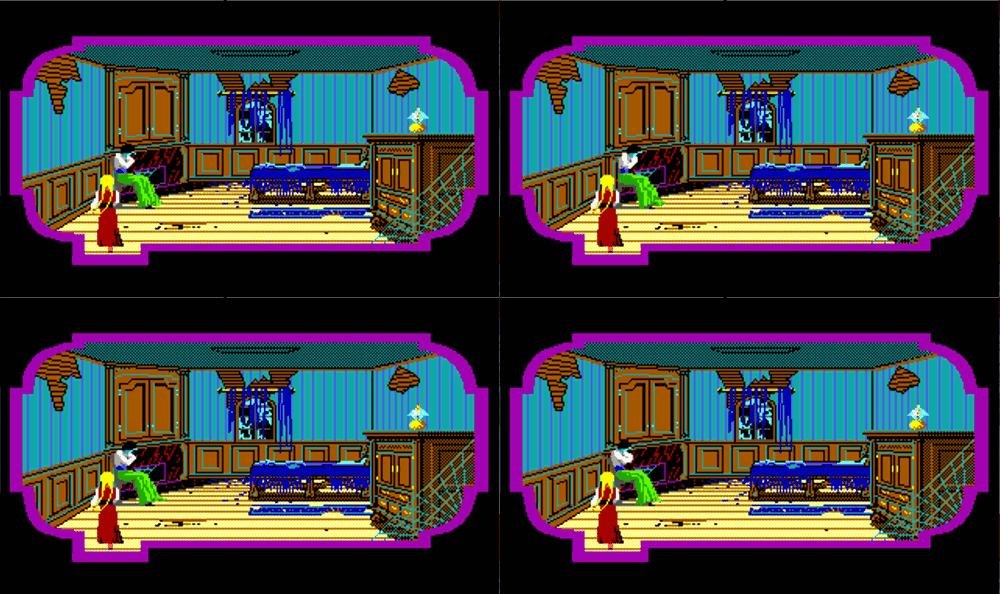
More crying is coming from upstairs. Go upstairs and enter the right doorway. Wait a few seconds for a lady ghost to appear in the chair. Look at the ghost. Go to the east graveyard and find a tombstone near the front that belongs to Betty Cowden. DIG. Take the locket, and give it to the ghost.
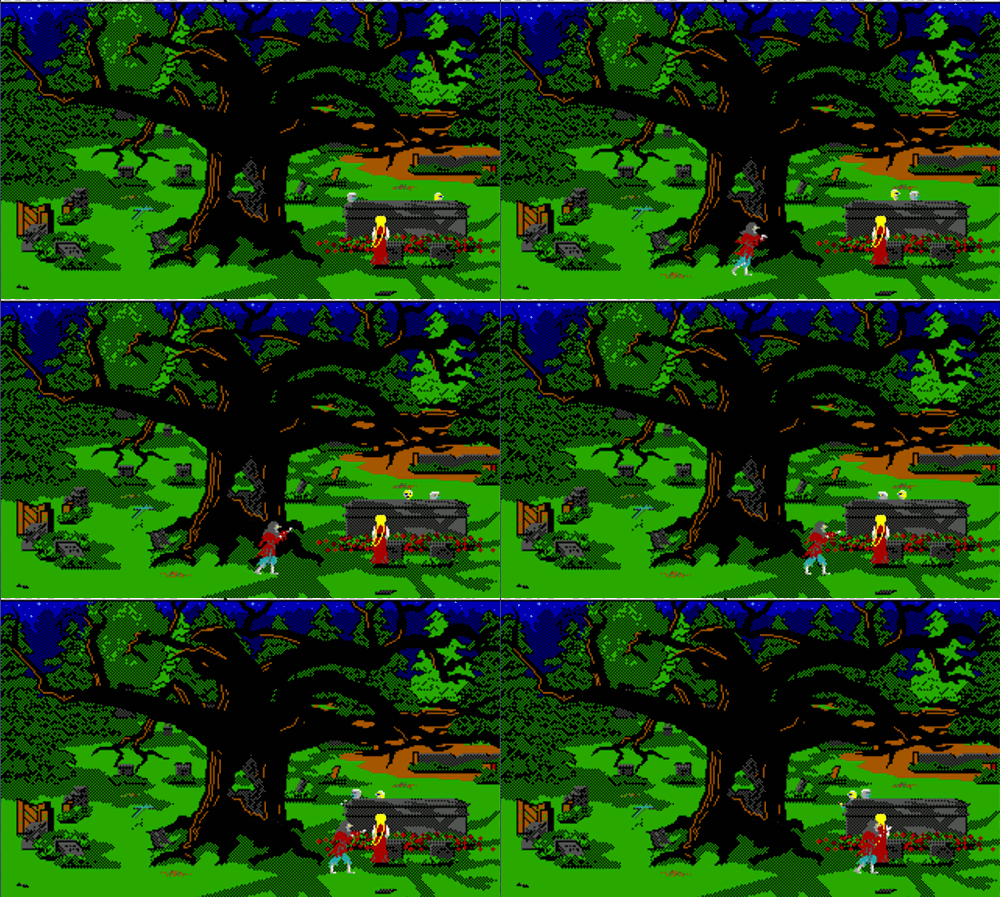
Now go to the west graveyard. Near the front rightside area of the graveyard is a tombstone for Lord Coningsby. DIG. Take the medal of honor and give it to the ghost. A boy ghost appears. Follow him to the rightside bedroom.
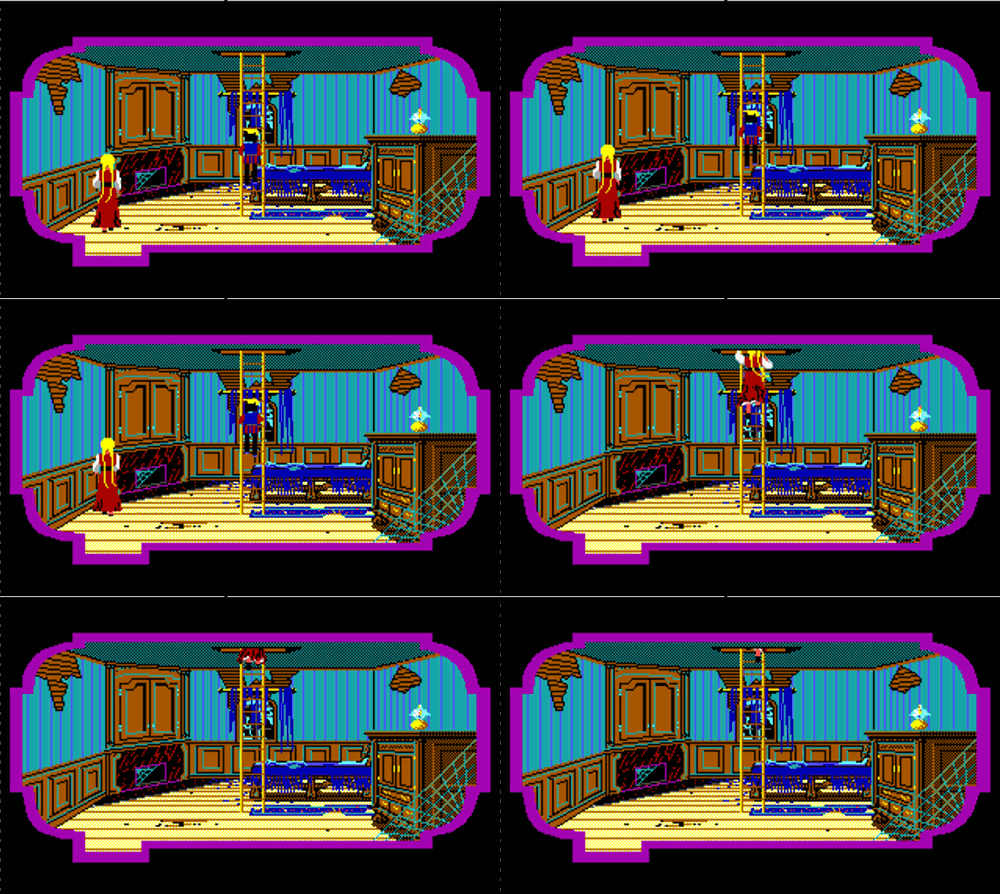
CLIMB LADDER and follow the ghost upstairs into the attic. Look at the ghost. He is sitting on top of a trunk that might have something useful in it. You really wish he would get off, but he just stubbornly sits there. CLIMB LADDER to get back down.
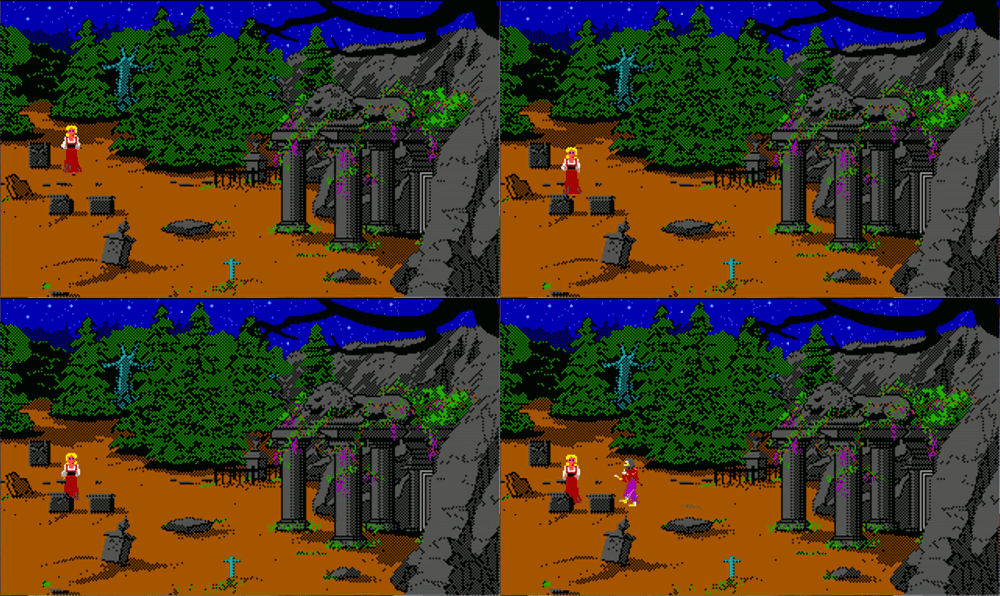
Go to the east graveyard and find a grave belonging to Willy. DIG. Take the toy horse, and give it to the ghost. He will disappear.
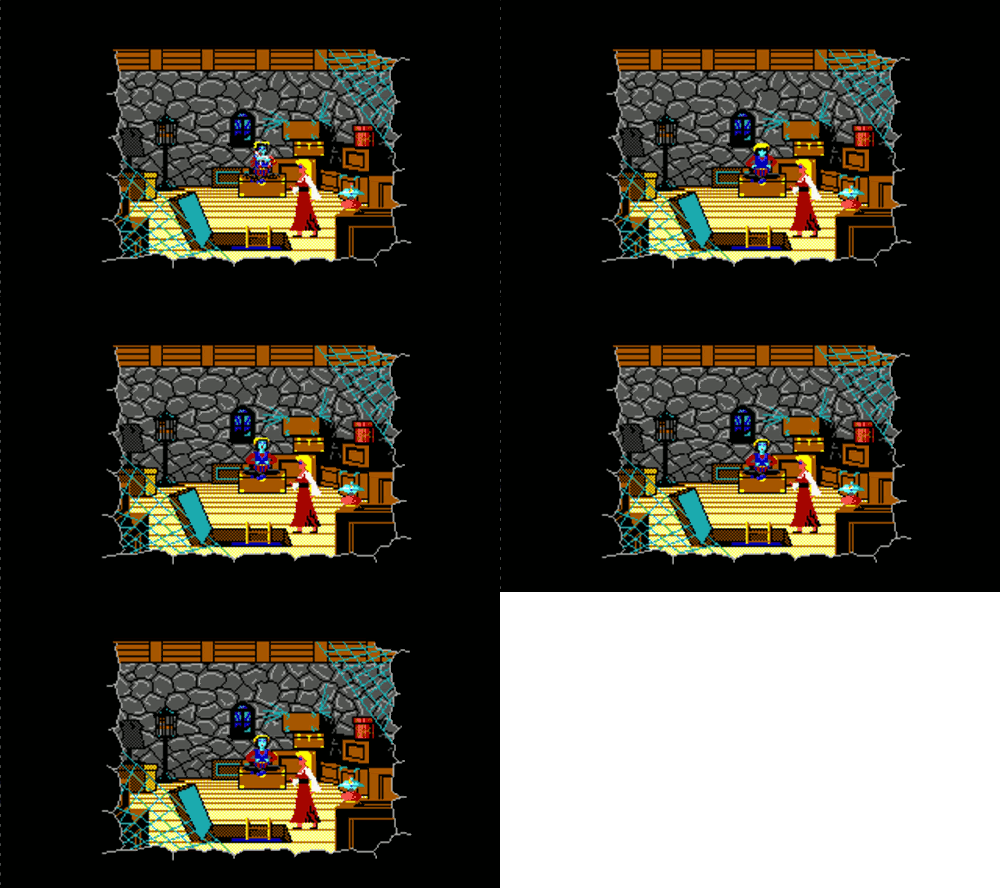
Open the trunk, and look in the trunk. You now have some sheet music. Remember that organ you were playing before? Let's try this strange sheet music out! Go downstairs and left into the parlor. SAVE GAME.
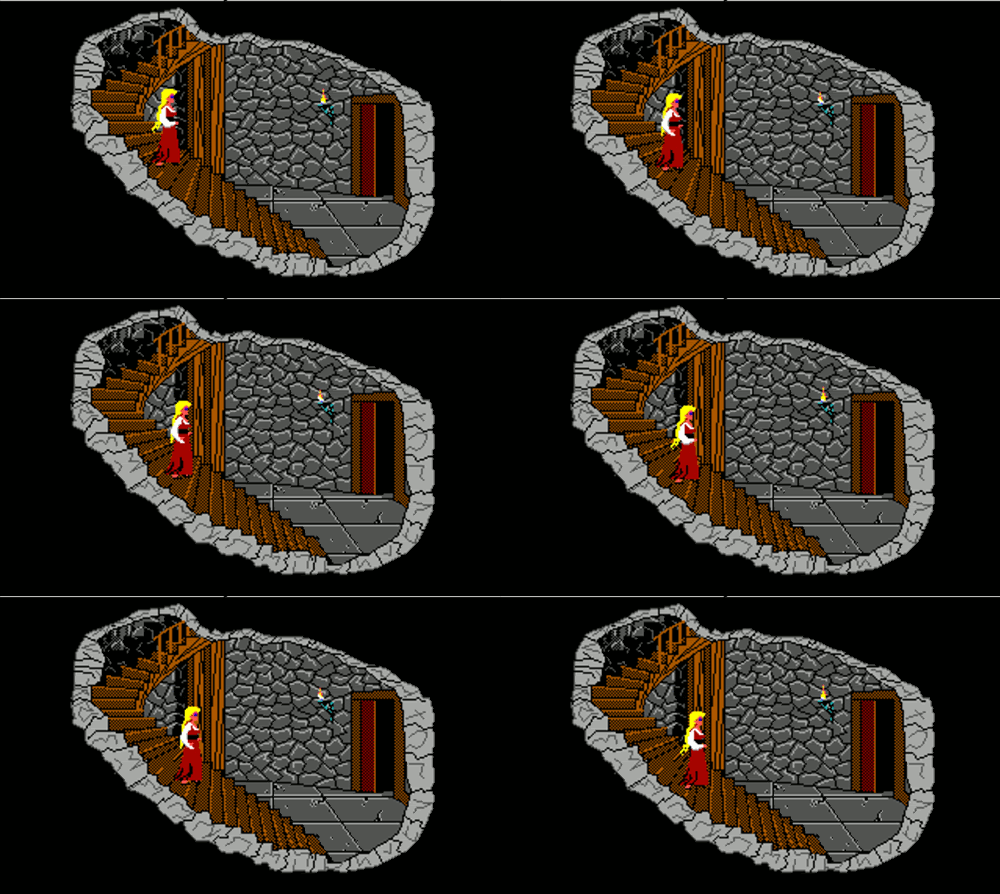
Go into the secret passageway and climb up to the organ. Sit down and PLAY SHEET MUSIC. What an eerie tune! Look! A little drawer just opened. Look in the drawer to see a key. Take the key and exit the mansion.
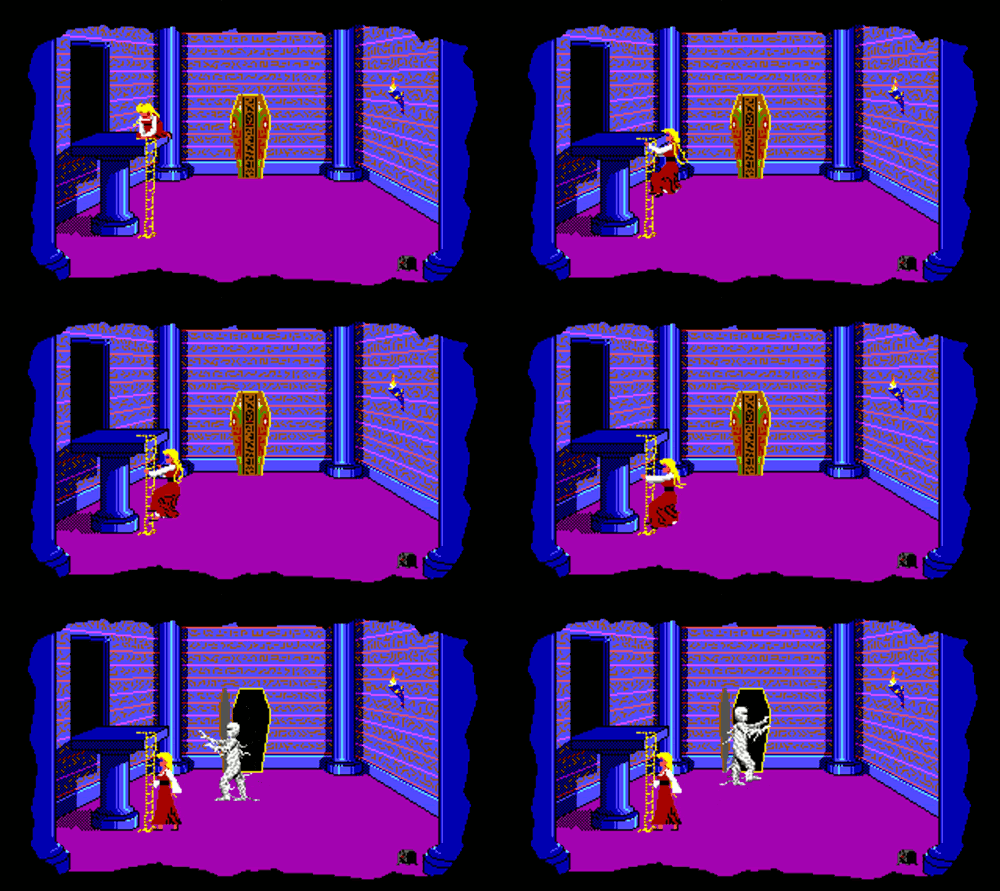
Go to the east graveyard again. Unlock the crypt door with that key. SAVE GAME.
Once inside Edgar's bedroom, wait awhile. Marrying Edgar in the morning? What?! This is not good! Whatever you do, you have to do it before dawn arrives! After a few moments of waiting, Edgar should arrive and slide a rose underneath the door. Take the rose and look at it. There is a little gold key. Unlock the door with that gold key. SAVE GAME. Leave the room and carefully go downstairs. Take your time and hug the walls a lot as you are going down. At the bottom is a sleeping guard. Stay as far away from him as possible. Follow the curve of the wall and exit out the doorway. SAVE GAME.
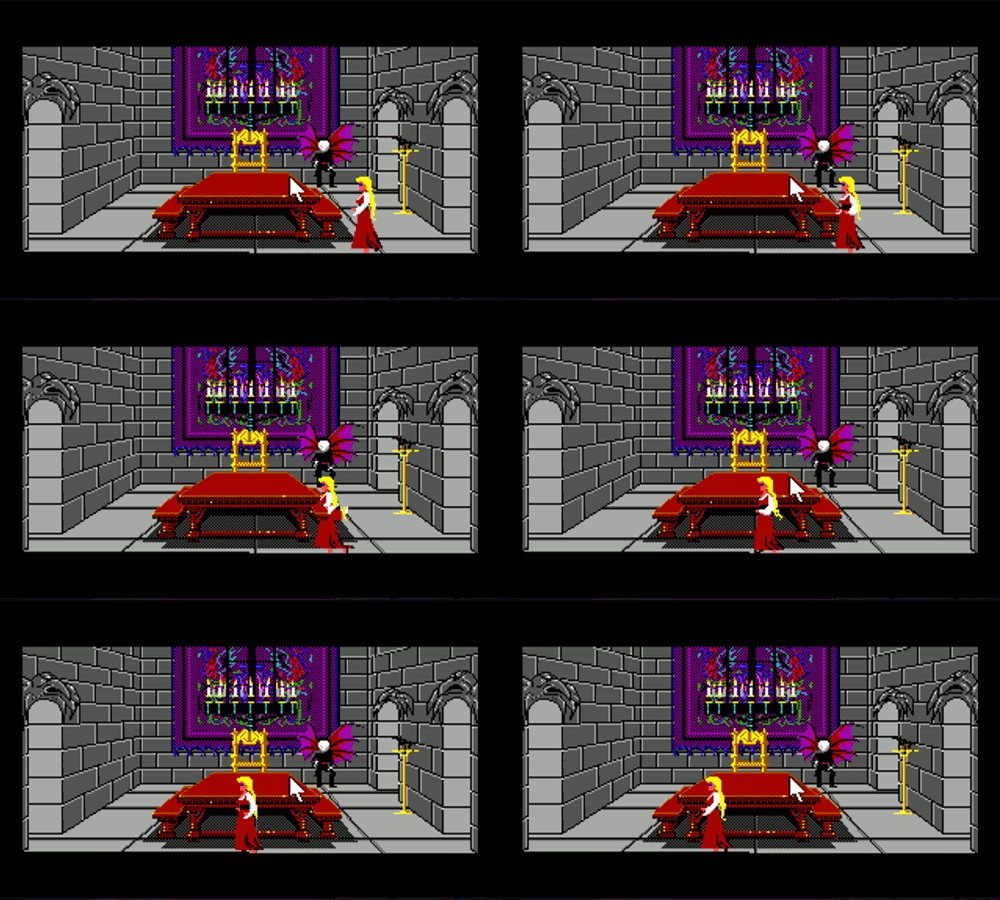
You are now in the dining room with a sleeping goon and two east doors. Hugging the walls and staying as far away from the goon as possible, enter the door closest to the goon.
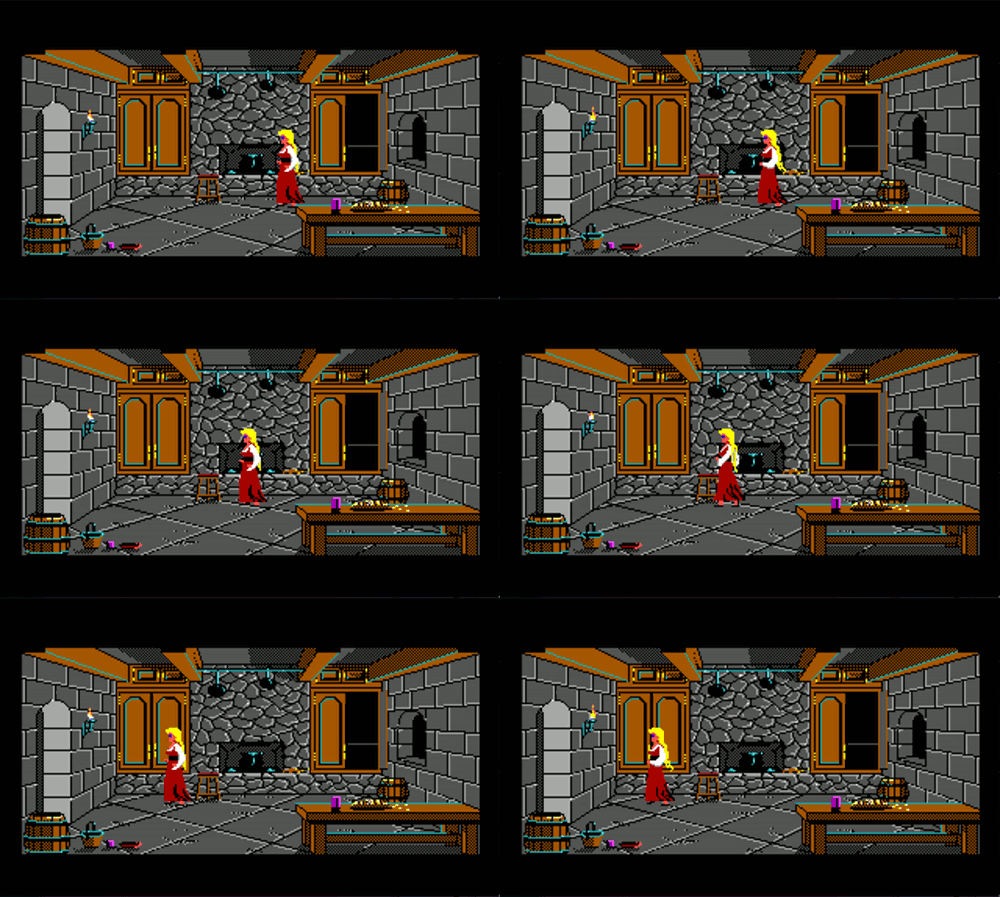
You are in the kitchen now. Open the rightside cabinet, and take all your possessions. SAVE GAME. Exit the kitchen, hug the wall, and exit through the other east door. SAVE GAME.
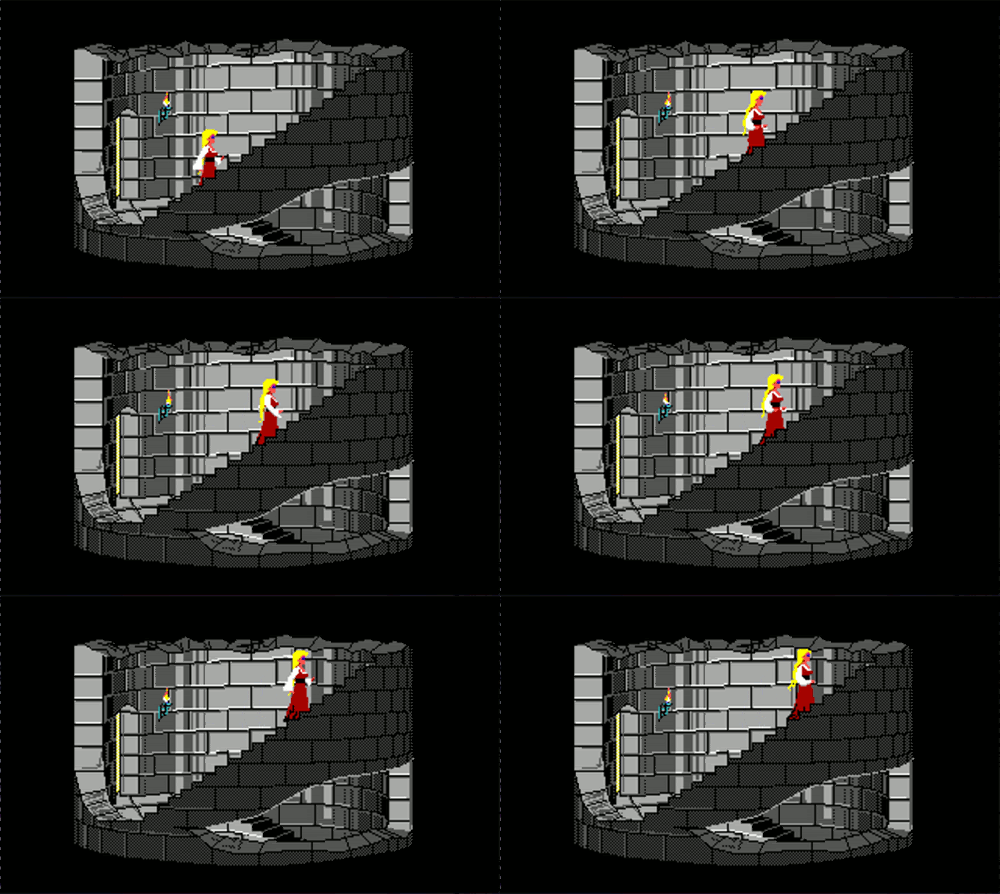
eah! More stairs! Halfway up the stairs, you will see a doorway to the east. Do not enter it!
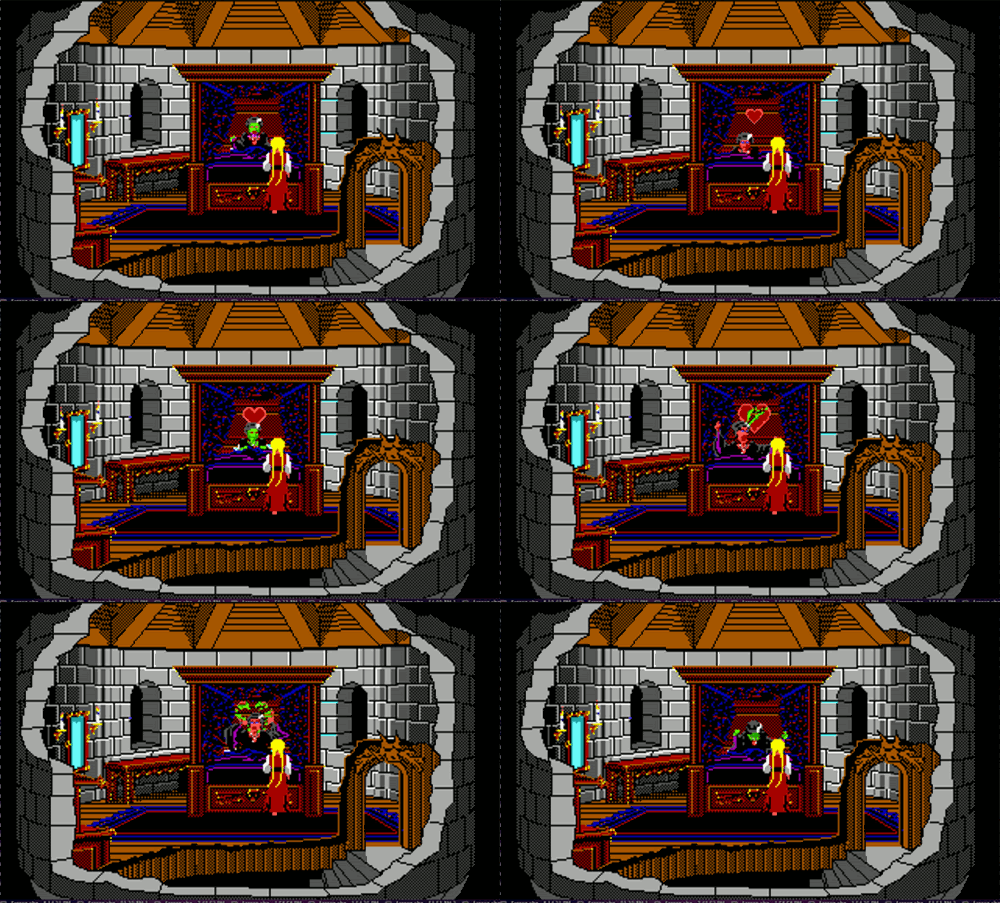
Go all the way up to Lolotte's bedroom. Unlock the door with the gold key. Lolotte is so evil that a shot of pure love will definitely kill her! So SHOOT LOLOTTE with the Cupid's second arrow. (If you already shot the second arrow earlier in the game, you will have to restore your game to before you shot that second arrow. You do not have any extra arrows.) Watch what happens! Good riddance wicked witch!
Dawn arrives and Edgar comes. After he leaves, walk to Lolotte's bed, and take the talisman. SAVE GAME
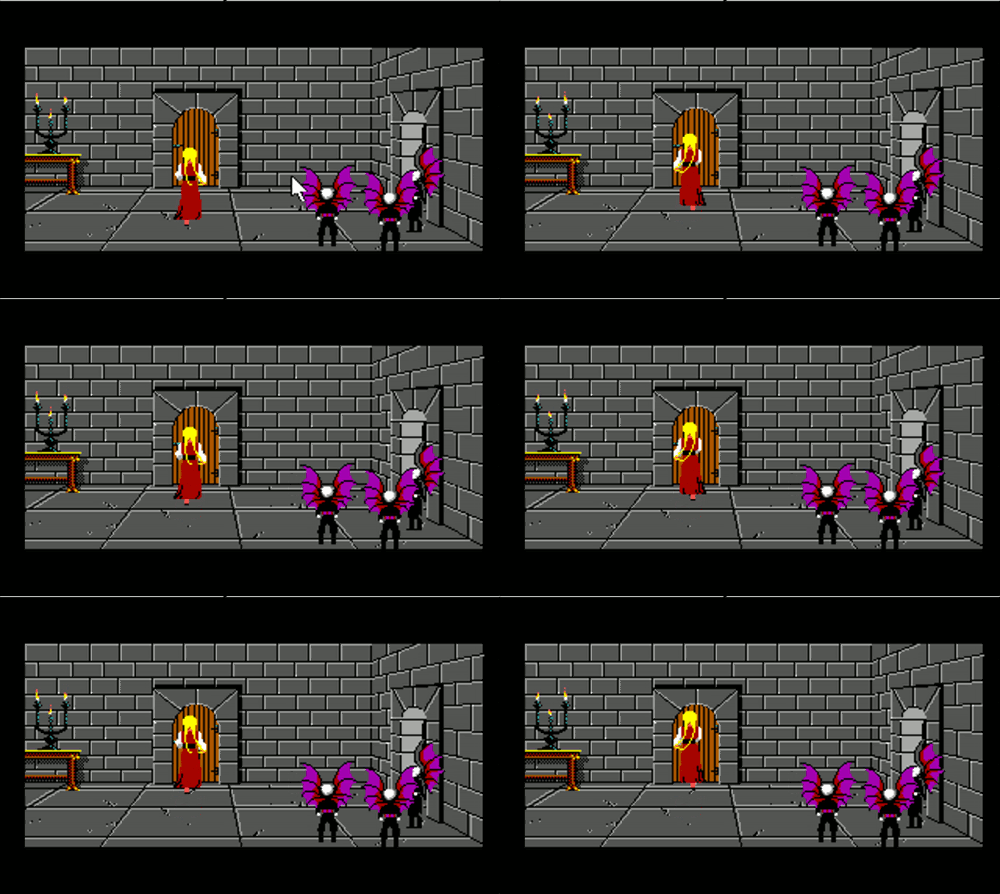
Now walk halfway downstairs and enter that doorway to the east. The goons will not capture you now. Open the door and go inside.
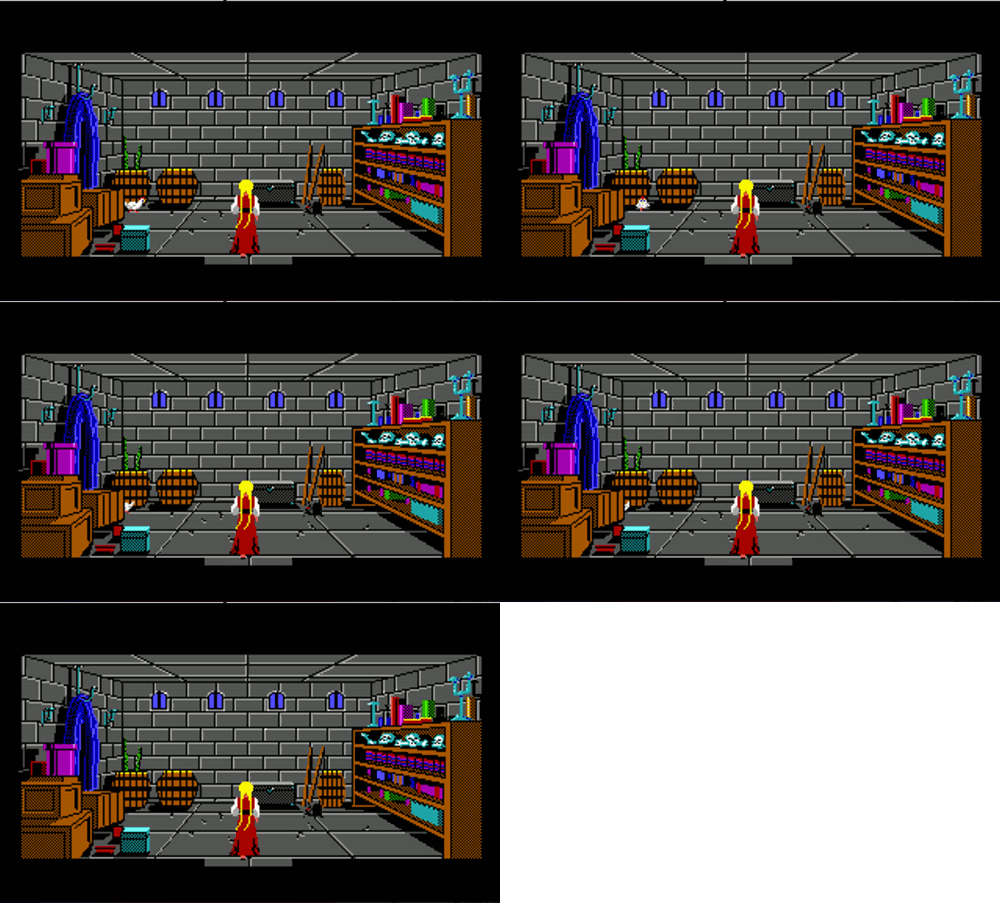
Take the hen and Pandora's box. SAVE GAME.
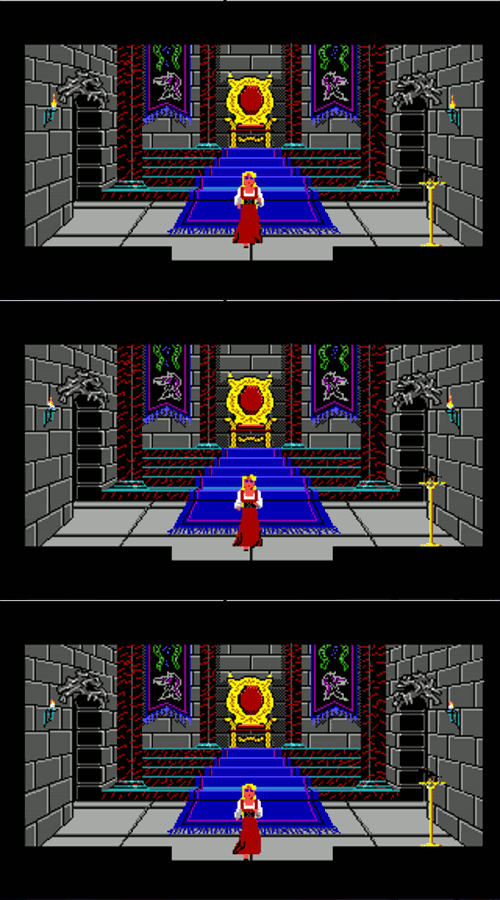
Continue downstairs and enter the throne room. Go south to exit the castle.
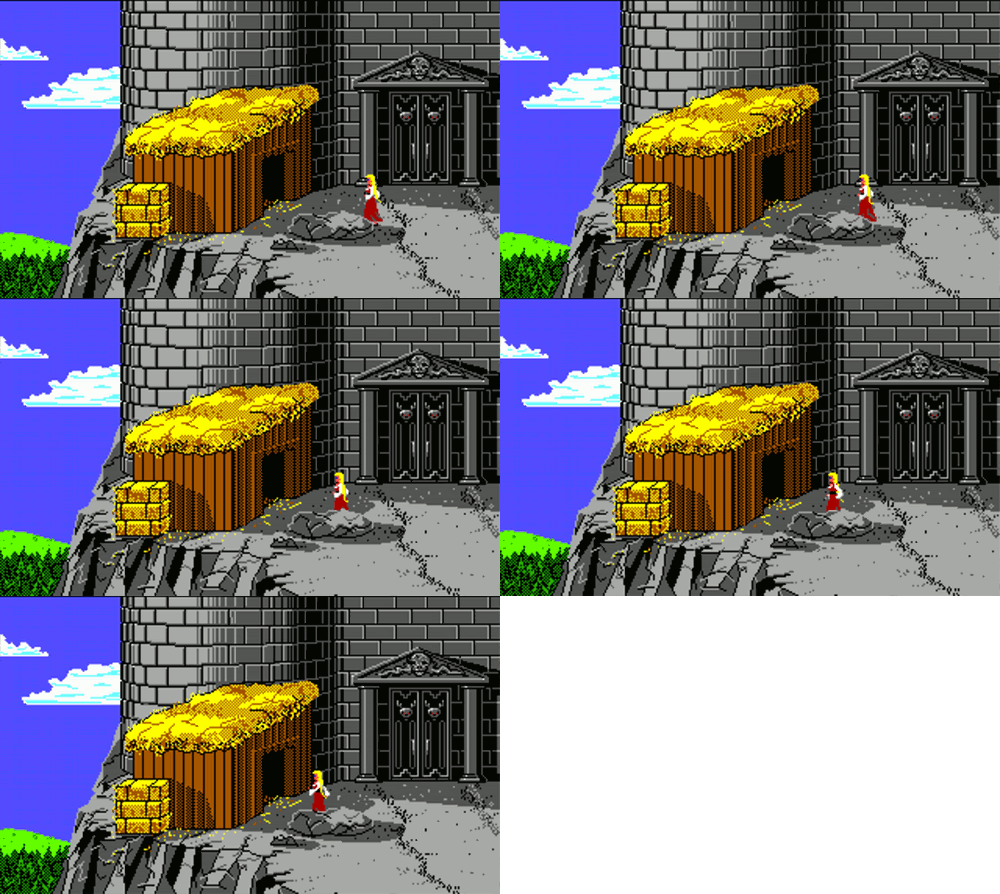
There is a small stable just outside.
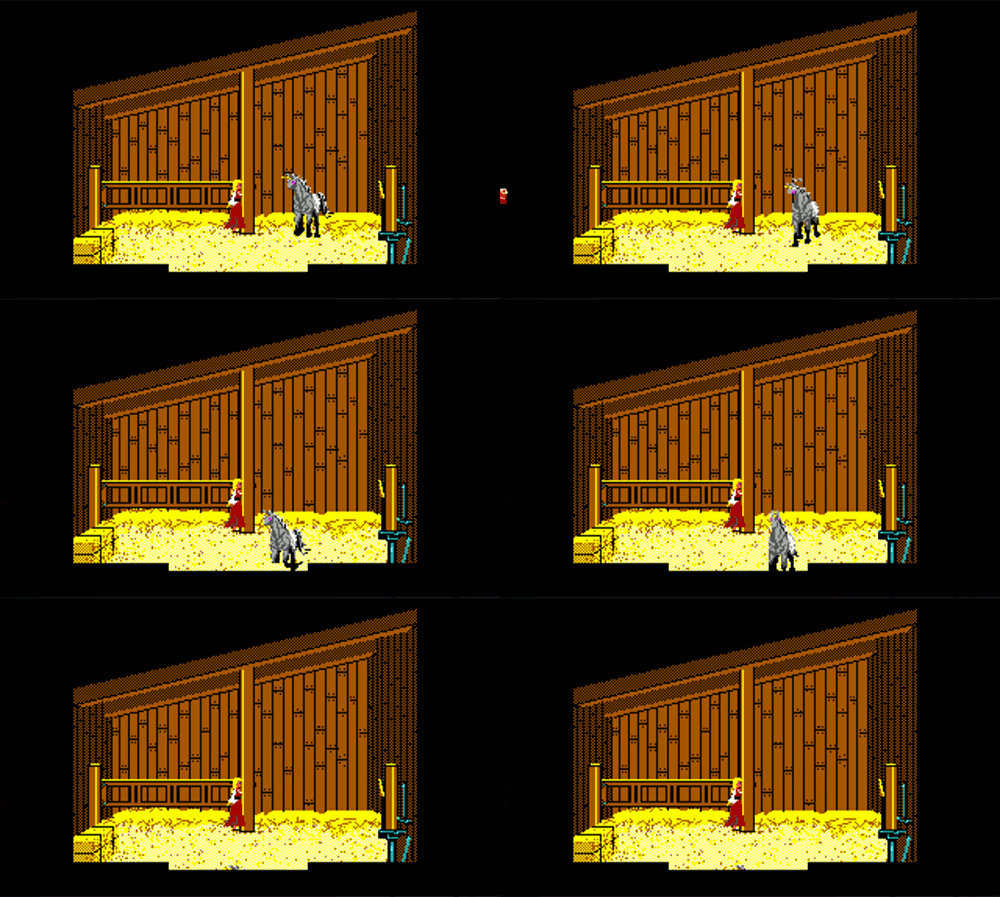
Go inside and stand right in the middle of the entire gate. Open the gate, and the unicorn will leave. (If you stand directly in front of the unicorn, you will not be able to open the gate.) Follow the unicorn out of the stable. SAVE GAME. You will have to walk down the twisty mountain path yourself this time. At the bottom, SAVE GAME. Go north two screens to the crypt. Enter the crypt, climb the ladder, and put Pandora's box on the floor. Exit the crypt and lock the crypt's door. There! Now the evilness will remain concealed again! Hopefully forever this time!
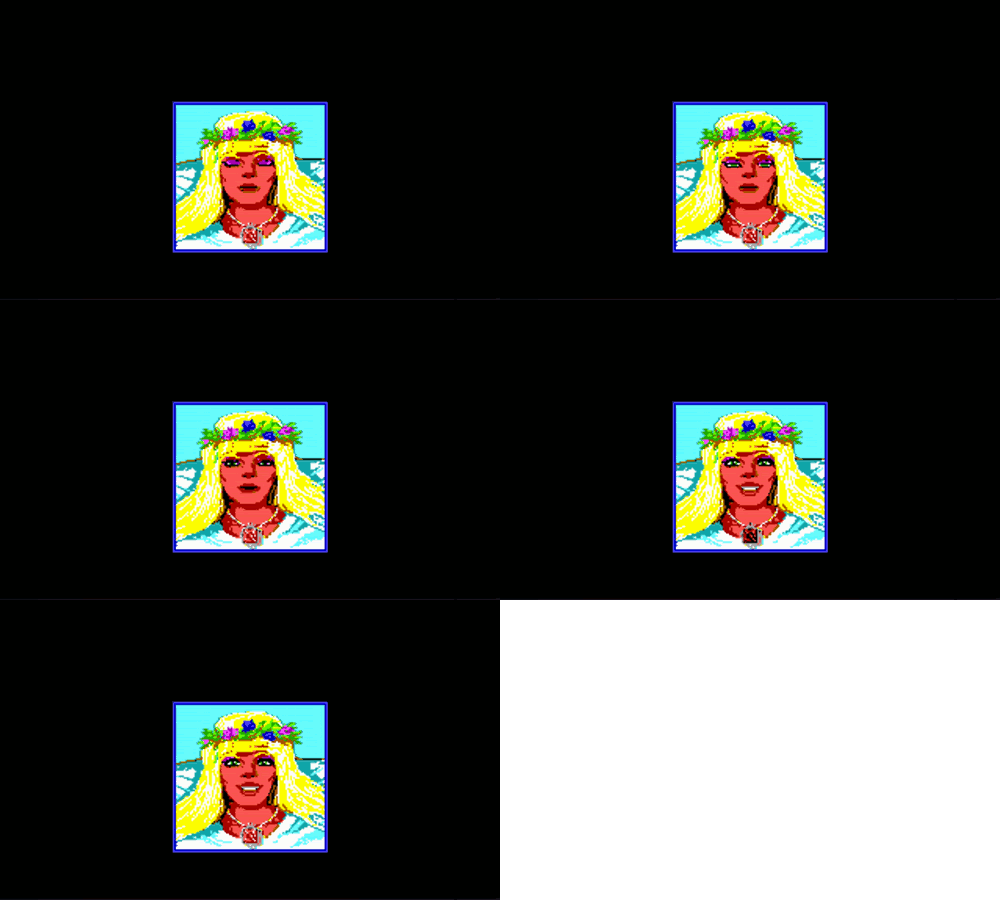
Go straight east and swim to Genesta's island. Give the talisman to Genesta and watch the ending.
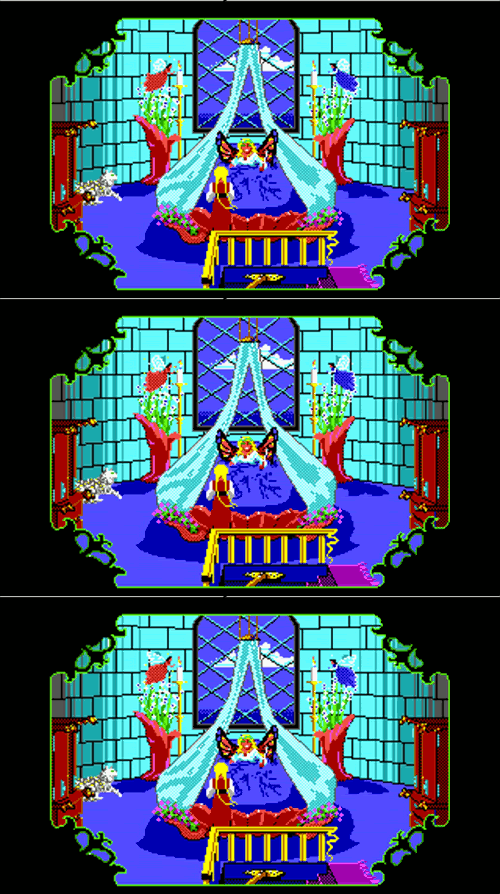
Genesta is revived!
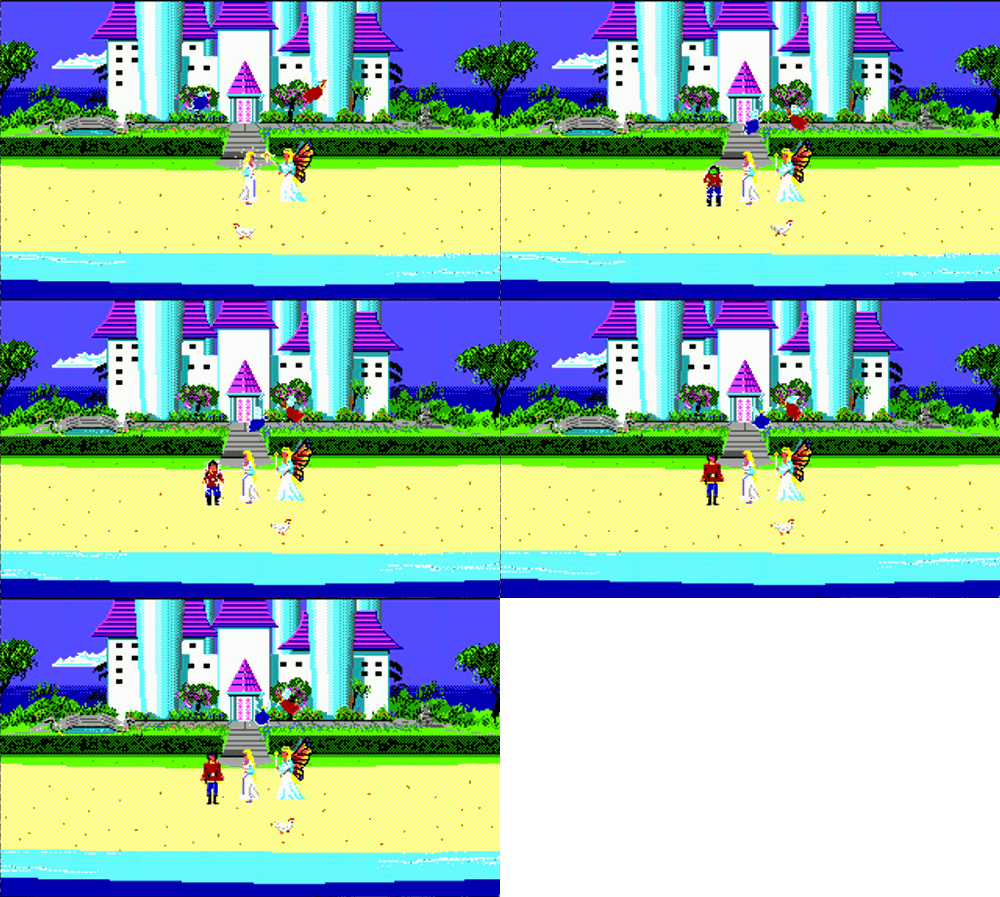
Rosella returns to the beach for her departure home.
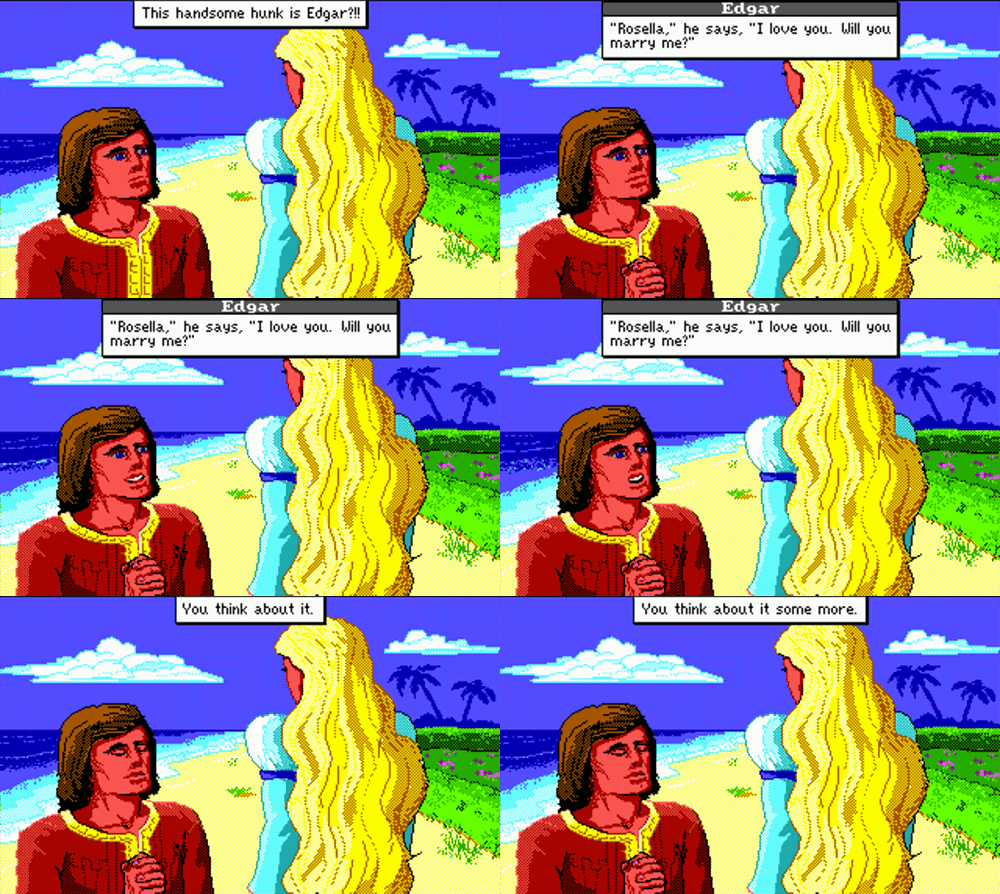
Edgar is transformed into a handsome prince, and proposes to Rosella.
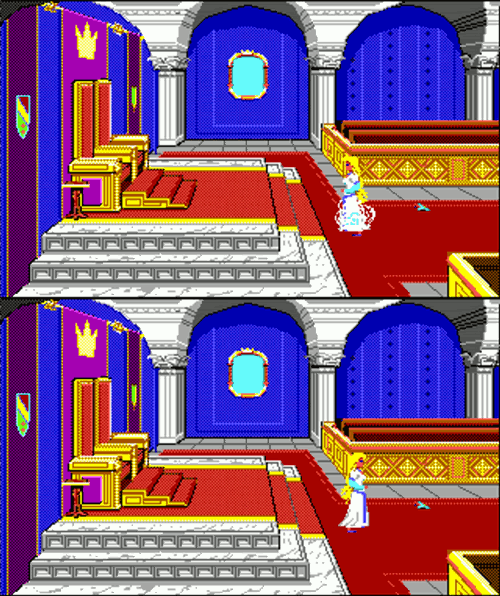
Rosella returns to her family's throne.
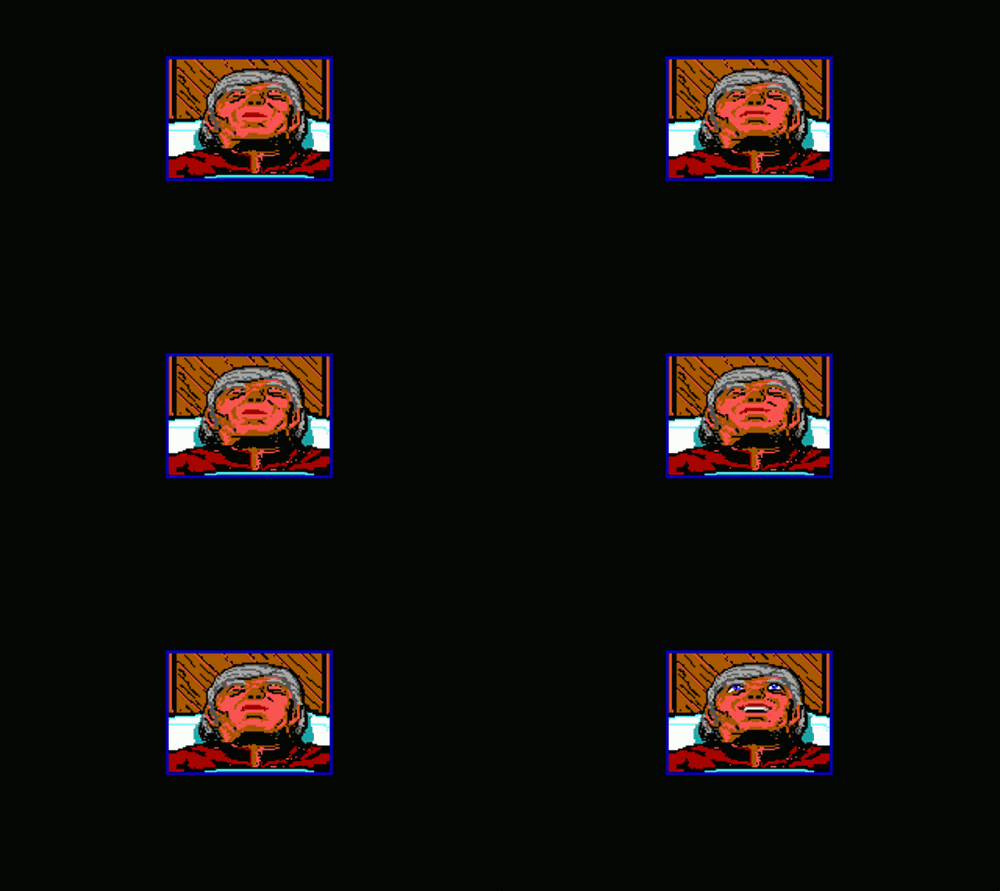
Prince Graham is fed the magical fruit.
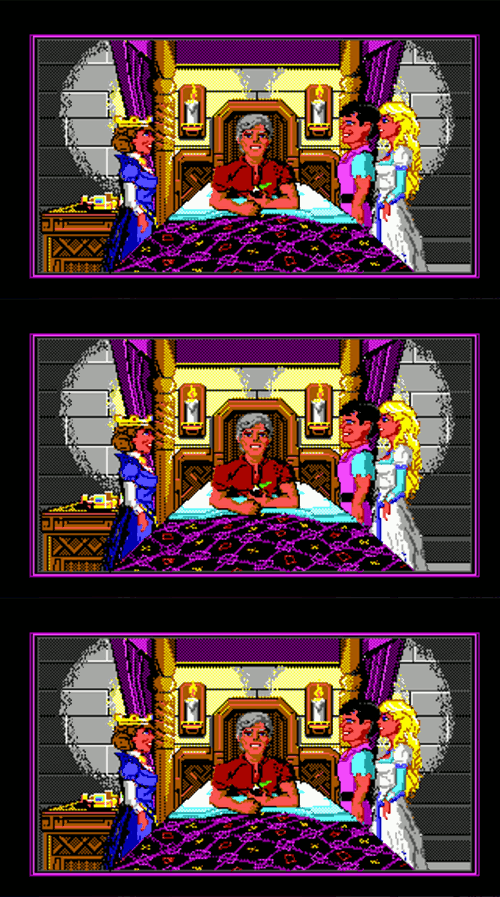
His health is restored yipeeeee!
Congratulations! You have just finished King's Quest 4: The Perils of Rosella.
TO THE BEGINNING
by Sierra On-Line
animated screenshotz by melanie clemmons
The full walk-through can be found here.